Your Cart is Empty


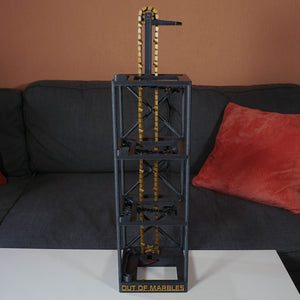


Printed on: Ender3 v3 plus
Filaments used: Creality Hyper Pla
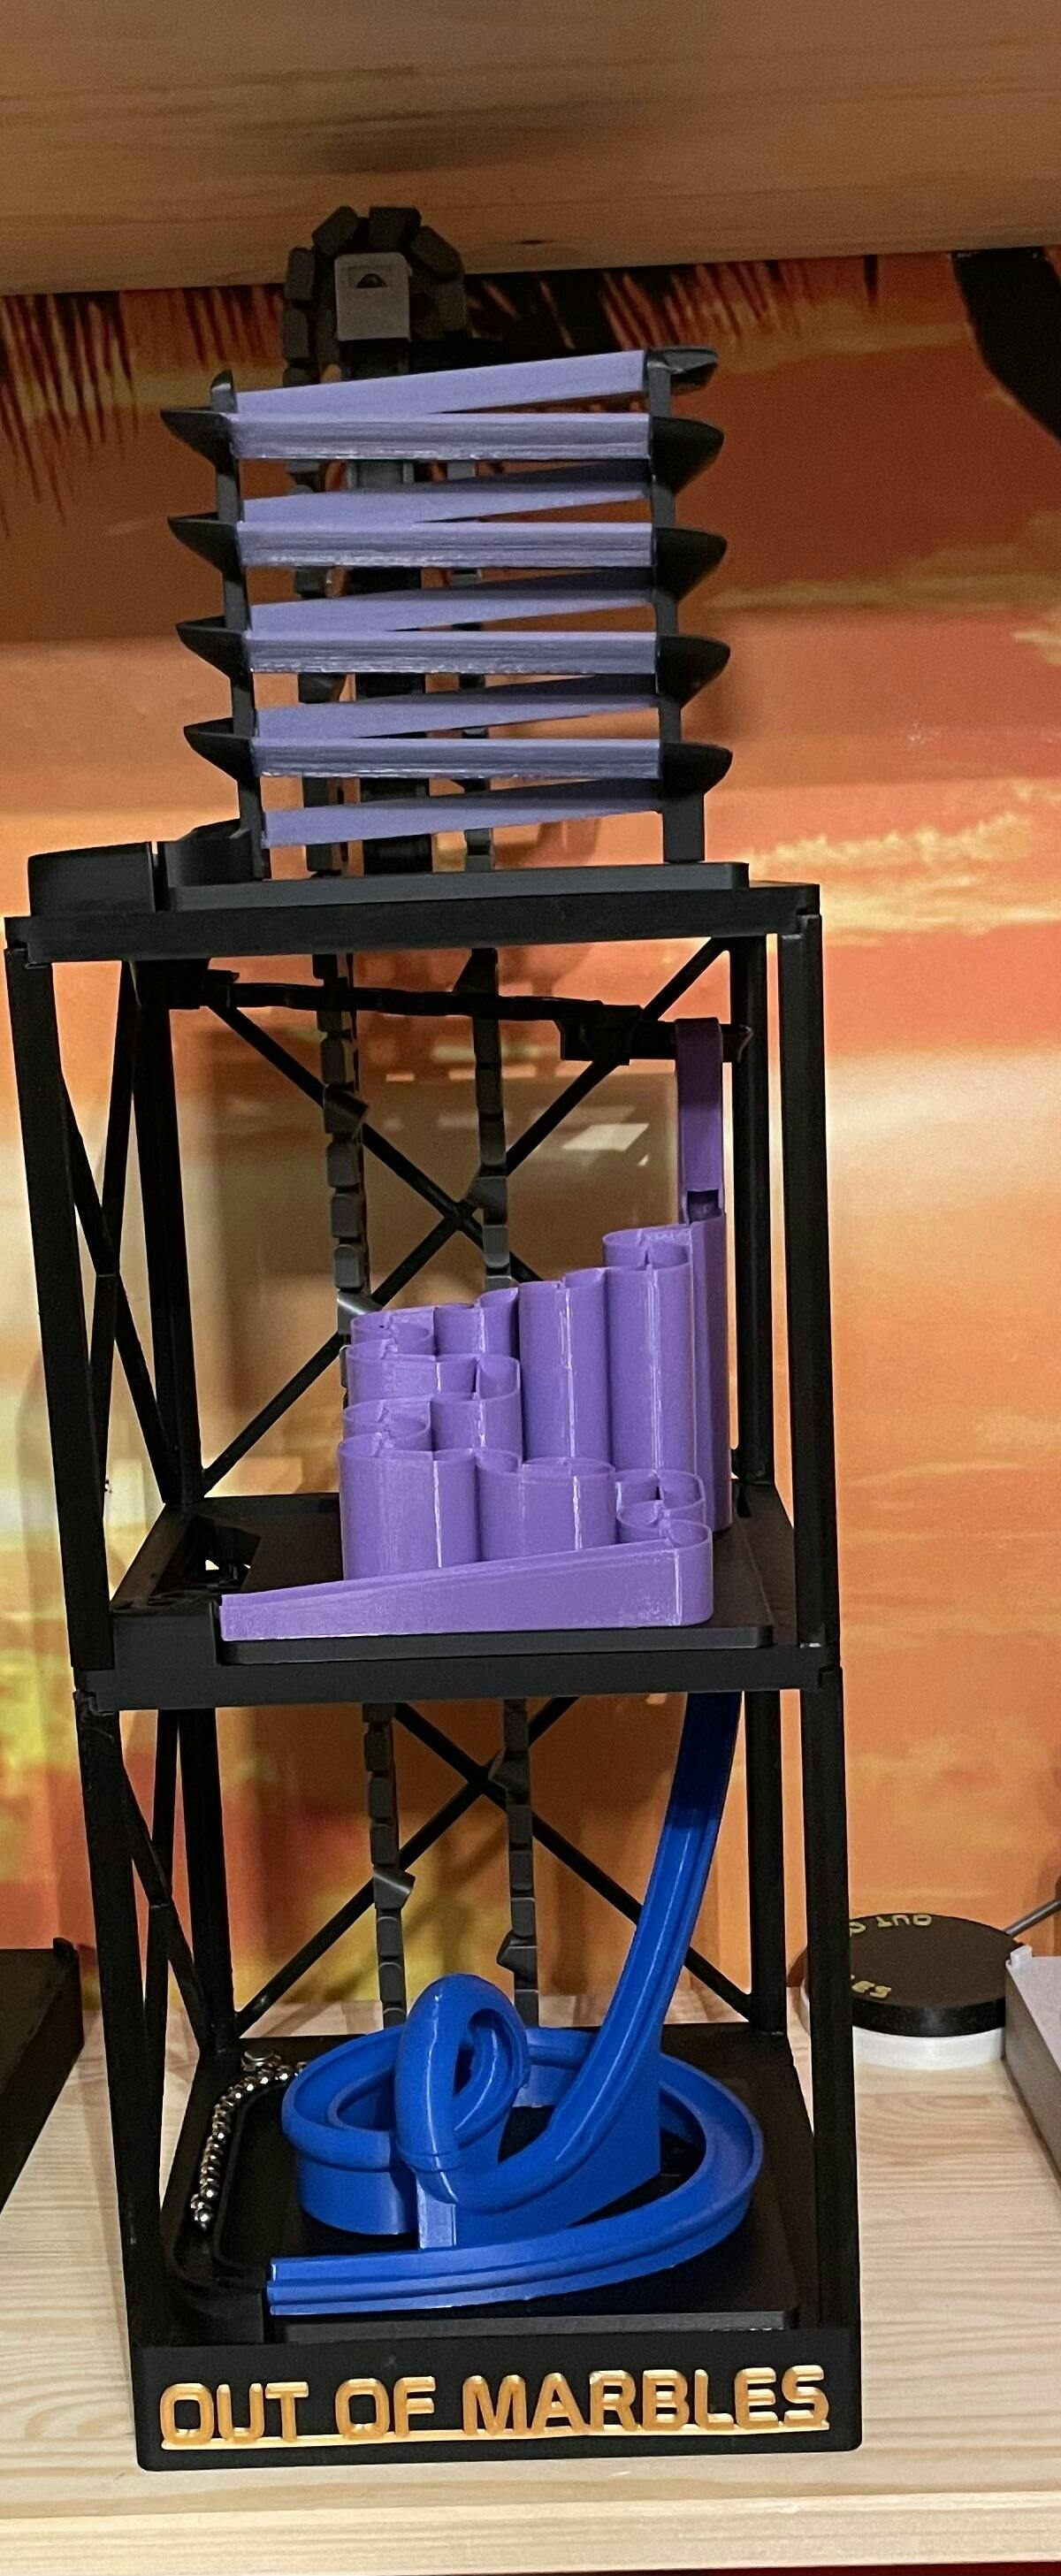
The Bucket Tower is pretty straight forward to print and build. Watching videos on the build process makes a lot of sense. I've built the manual one and am now waiting for the motor parts before I build the motorized one.
If you're into marble runs in general, these builds are a must-have....
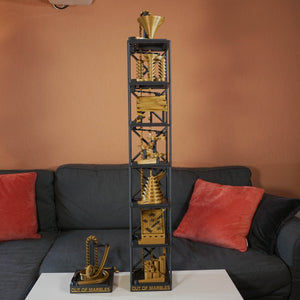
Printed on: Prusa Mk4s
Filaments used: Elegoo Rapid PETG
Great projects for classrooms or grandkids. I’ve made about 1/3 of the models so far. I’m amazed how well they print and fit together. Everything just clicks into place. No supports and almost no cleanup needed. I got 4 hardware kits, too. They make it super simple to plug in to any of the models. No soldering or wiring skills needed. I hope Luka continues to release more models. It’s been awhile since the last one. Who knows, maybe he’s designing aerospace equipment now. He’s certainly got the talent!
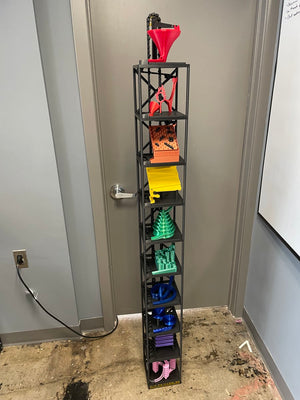
Printed on: I am using a combination of Q1 Pro and Anycubic Kobra Neo printers
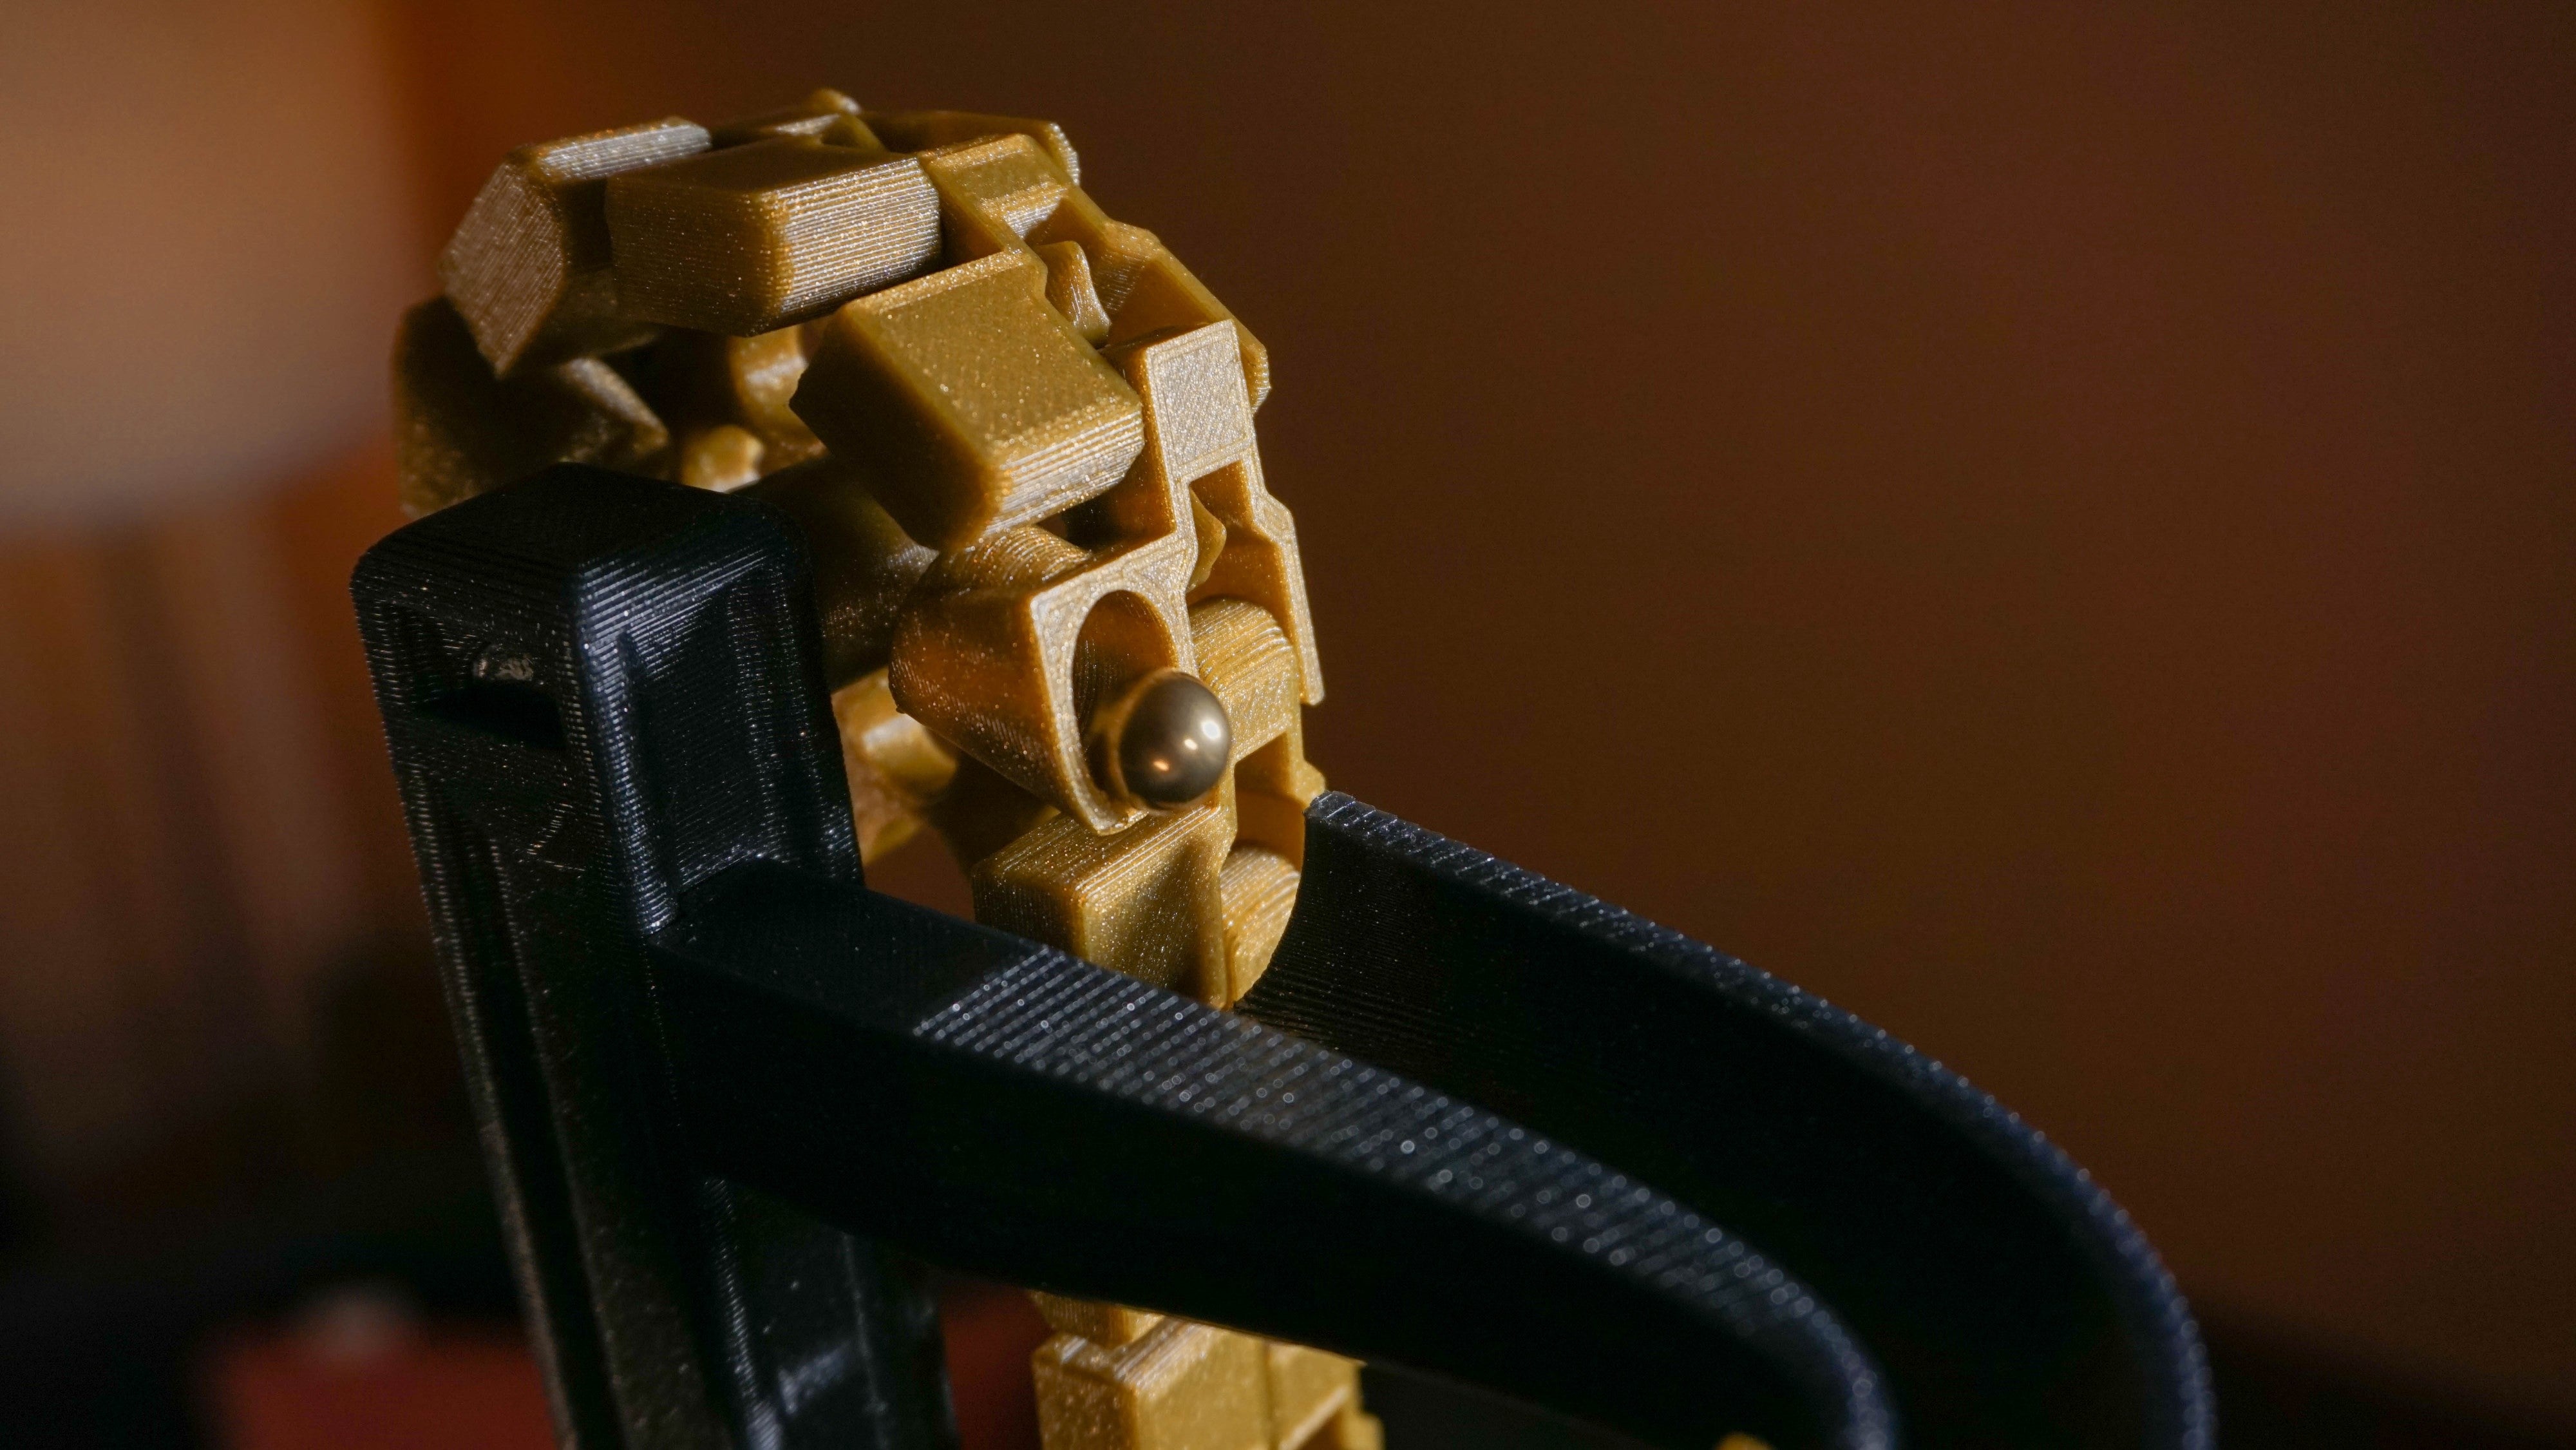
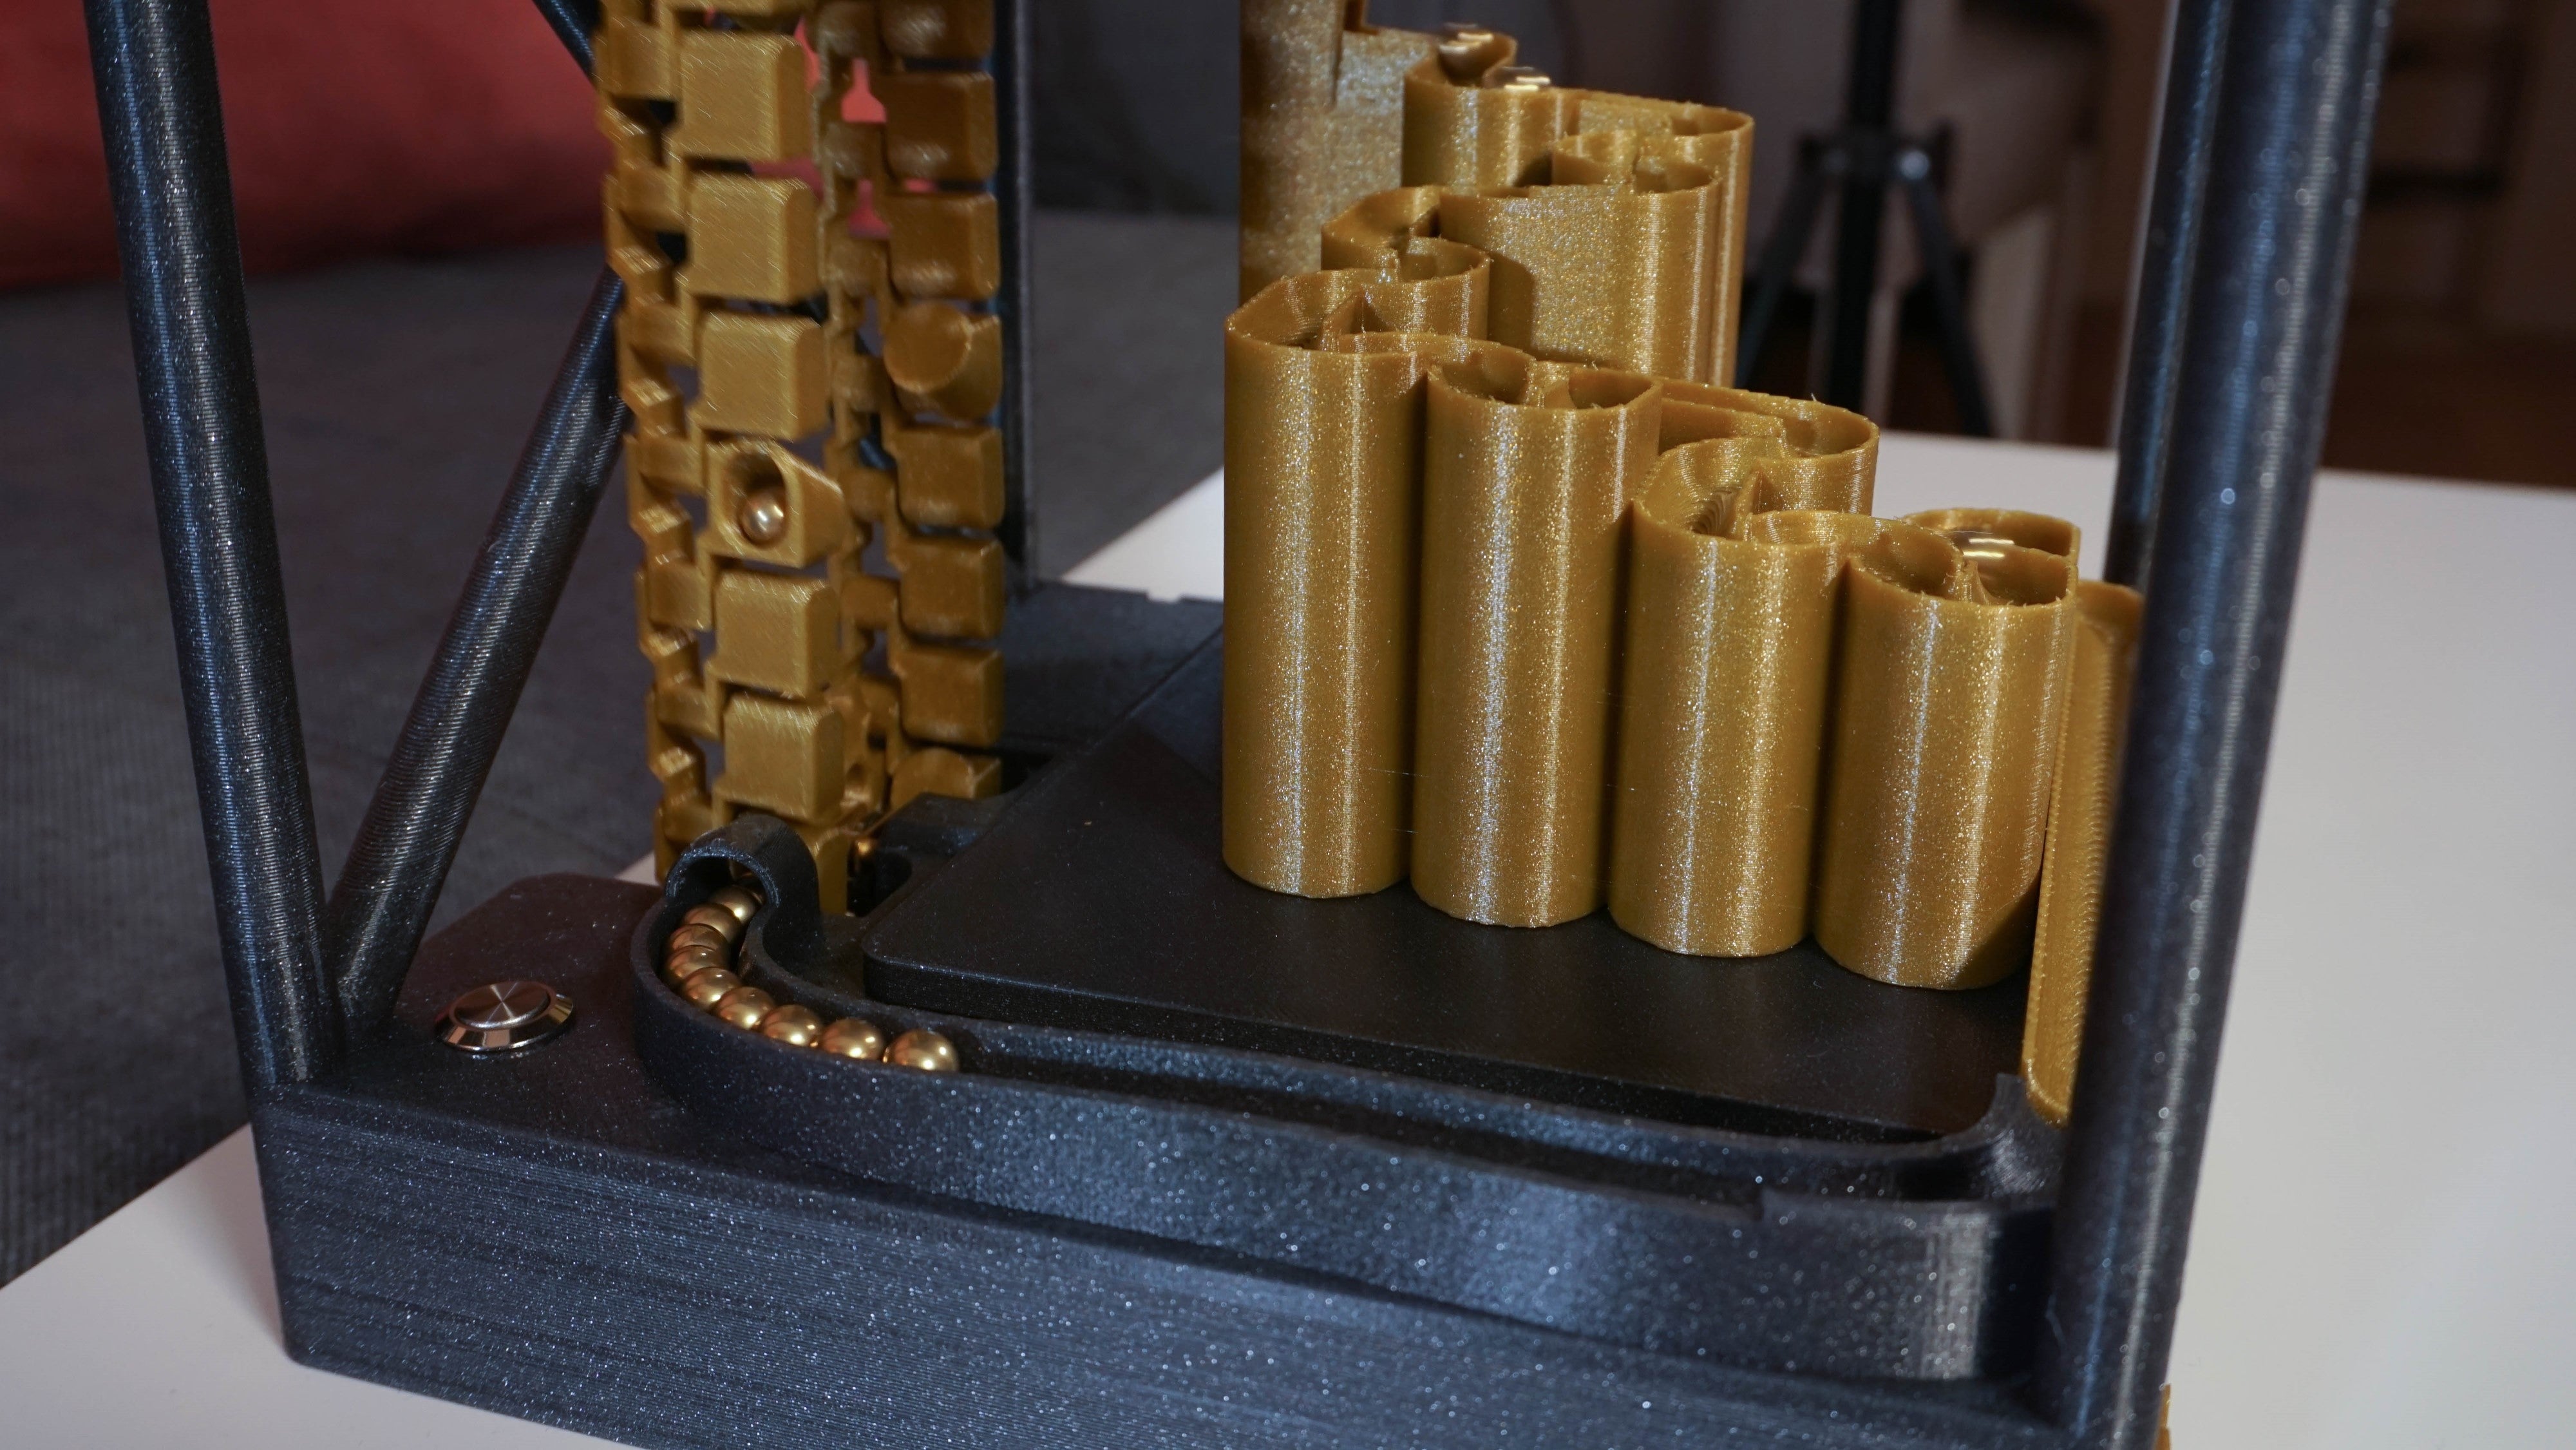
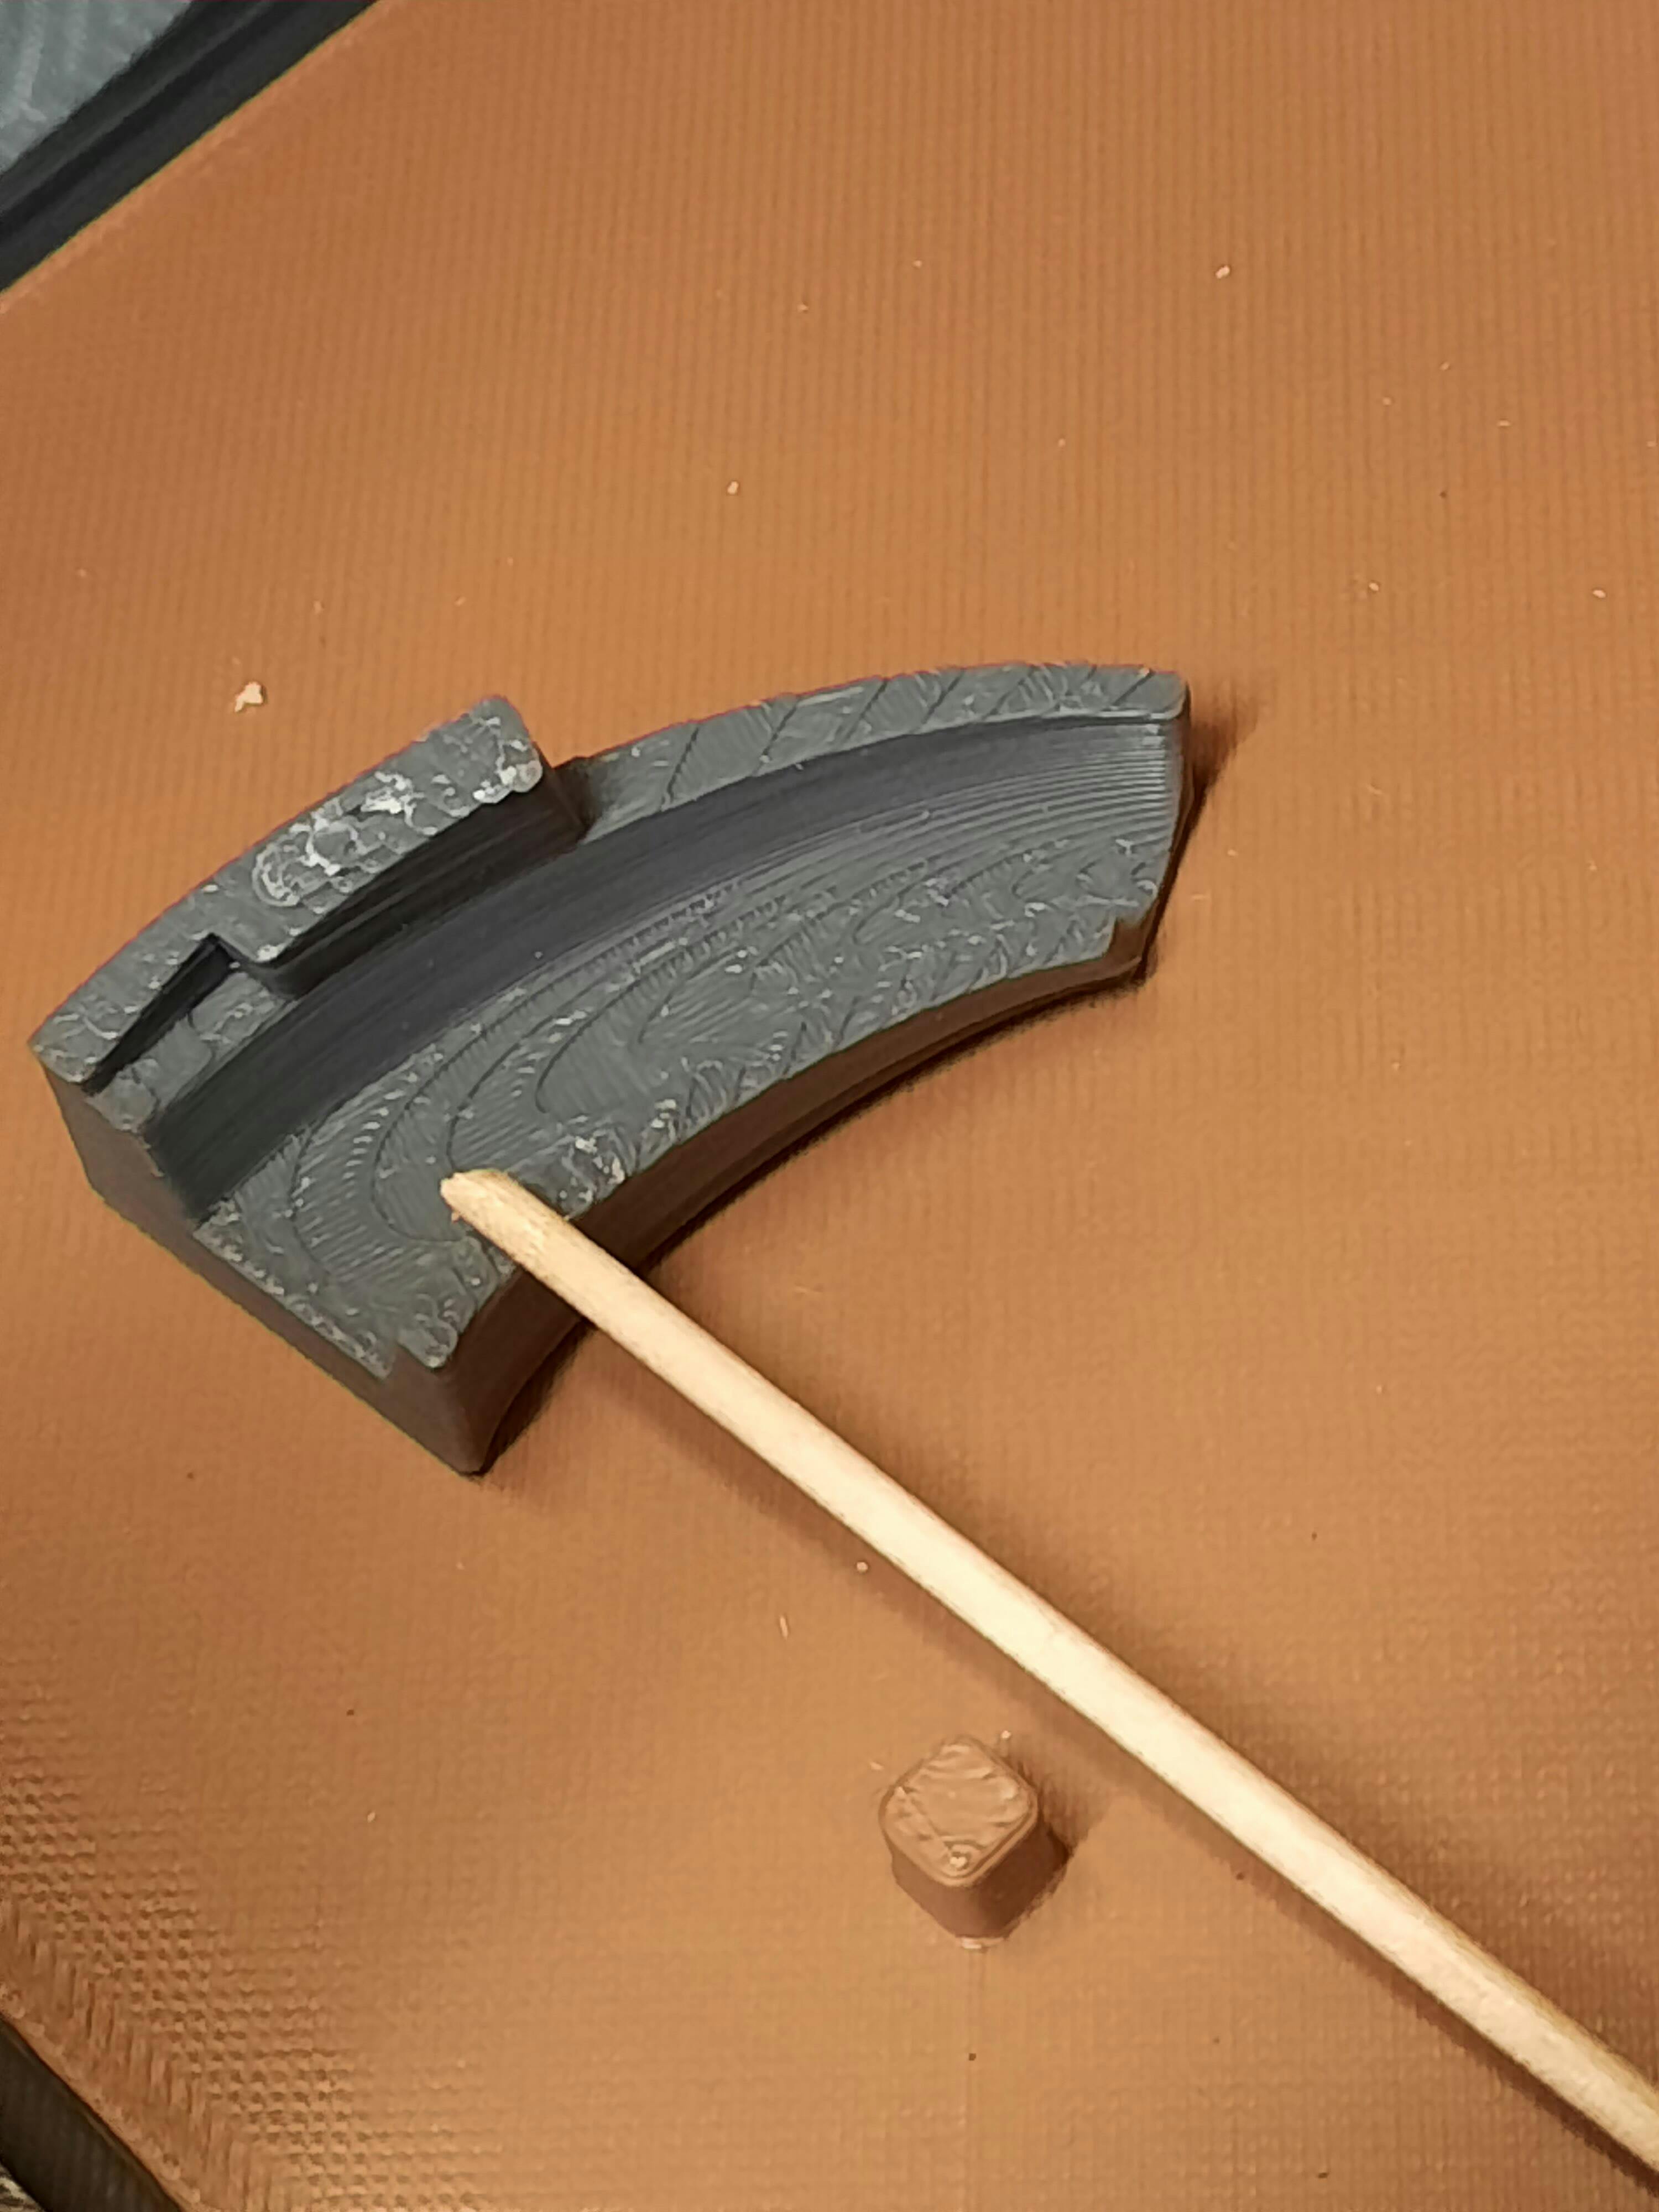
As with many 3D prints, you have to work a bit with fitting parts together. In my case several of the nubs broke off. In those cases I drilled out the receiving holes to slightly enlarge them and also the broken nub to create a hole and secured a small wooden stick as the nub replacement. This worked very well.
I set this project aside for a few weeks, now back to piecing it together.
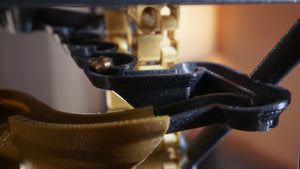
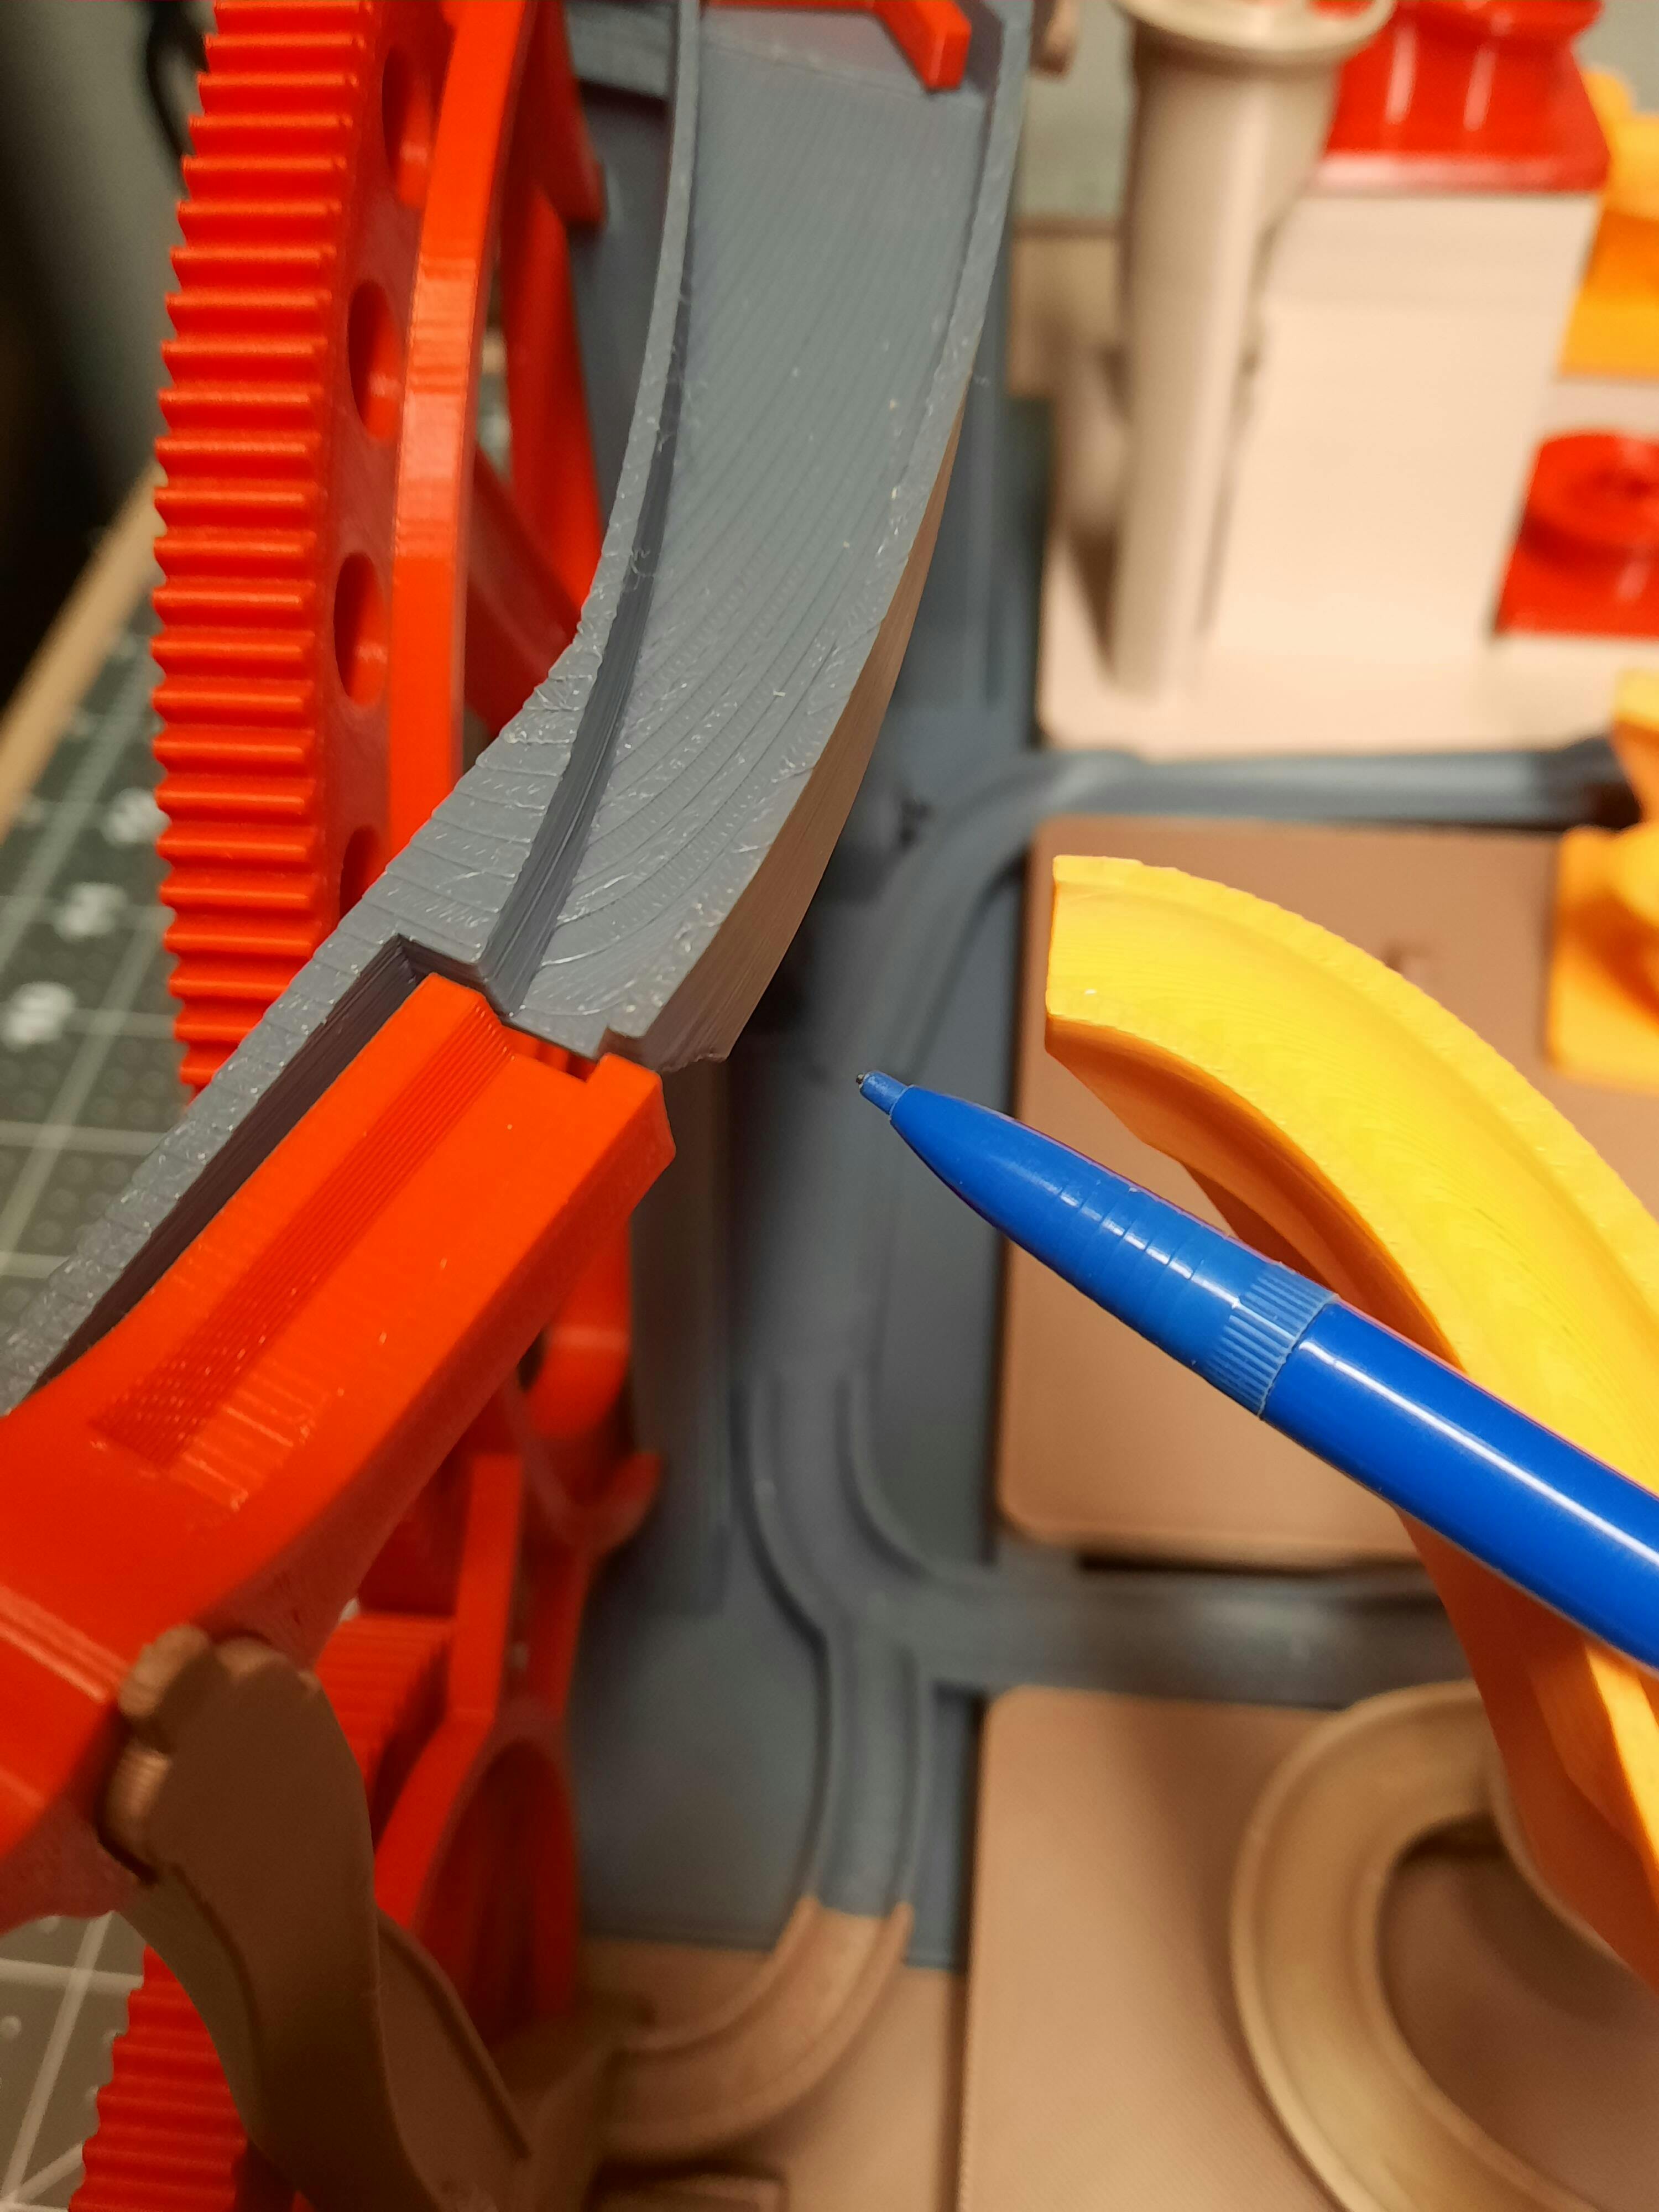
I'm working on some sort of creative solution to properly attaching and aligning the small transition piece which catches the tip-over catchment piece. The long tab on this small piece broke off remaining in the slot. I'm thinking this through now.
I have included a picture of the part and where it goes
CONCLUSION: I am enjoying this build, it is not simple, I hope to add more modules to expand it. I would buy again.
The packaging did not protect the plastic batter case. It was crushed. Not totally. I was able to bend it back to shape enough to get the batteries in. When I pull the batteries out it wants to collapse requiring me to fiddle with it to get them back in. So, some sort of casing is required to protect the parts.
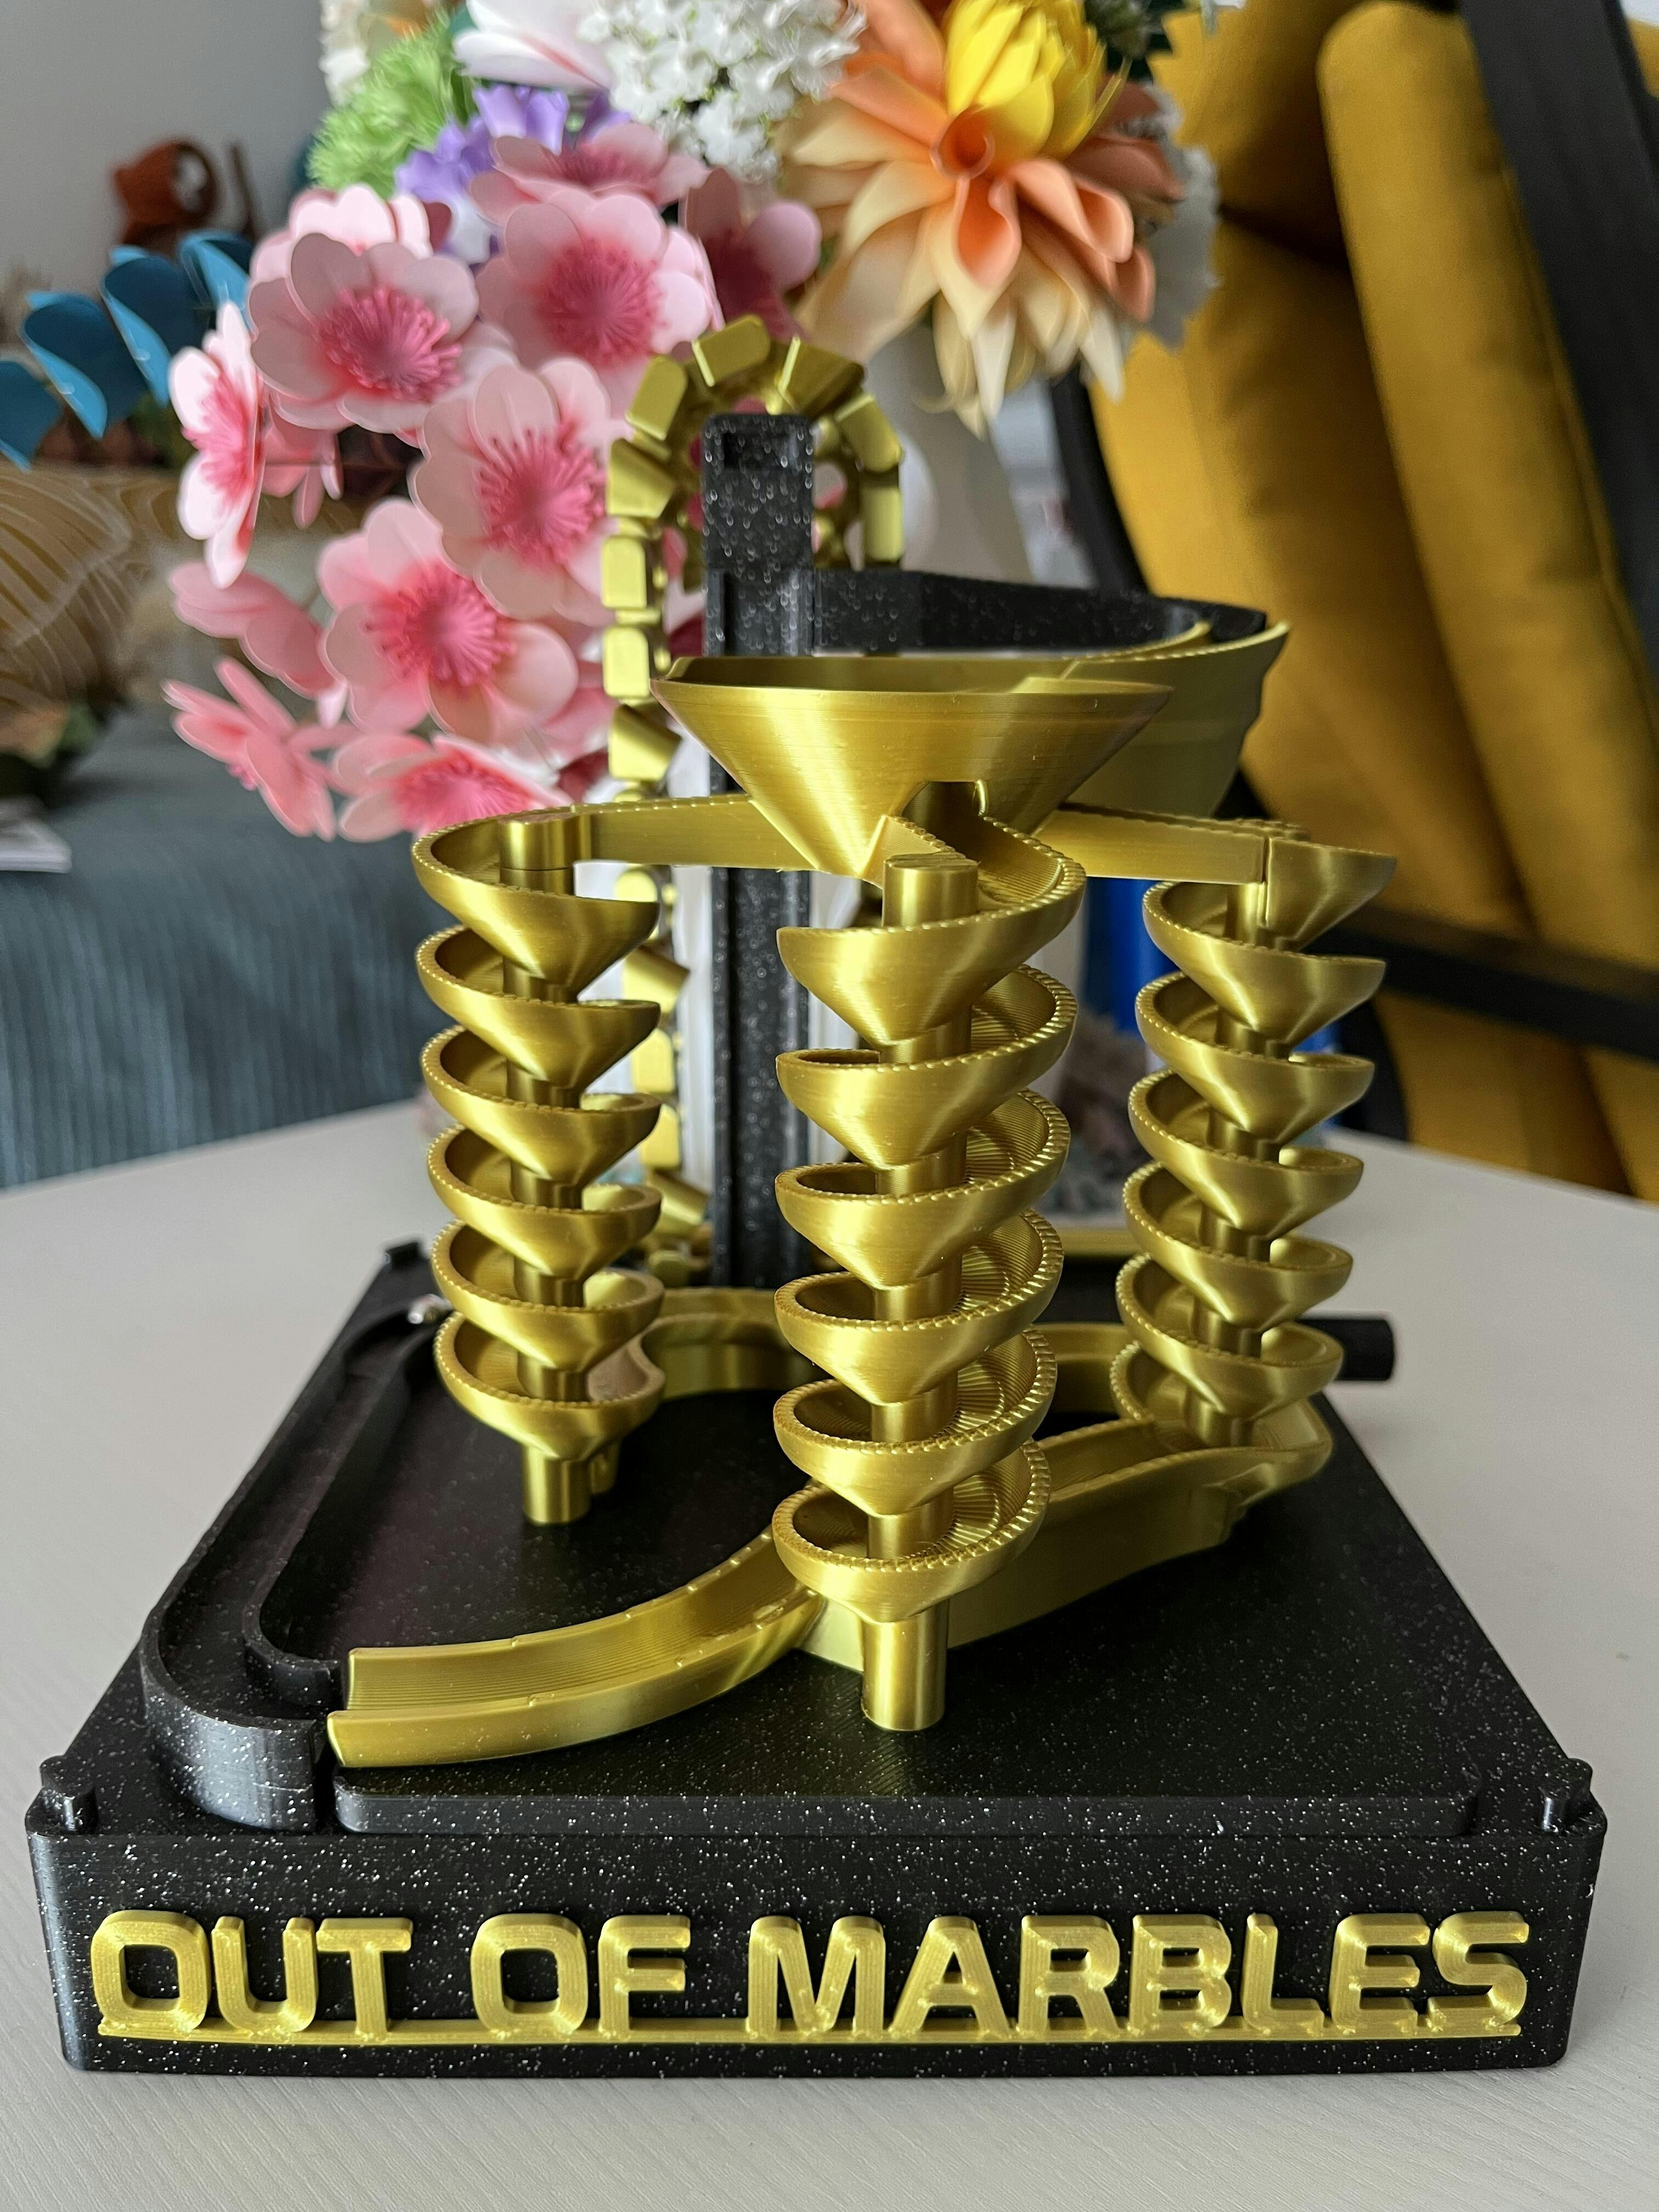
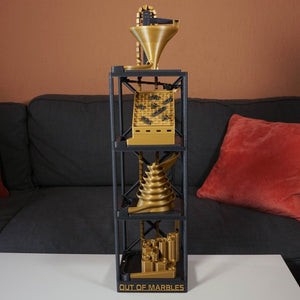
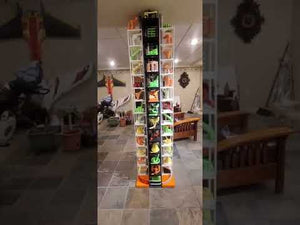
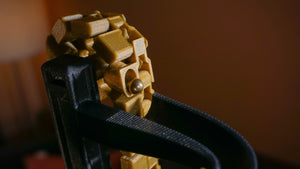
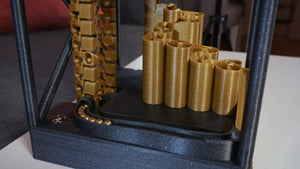
Printed on: Bambu Lab A1 mini and A1
Filaments used: Devil design black with glitter and silk gold
First I was not sure I will be able to print this. I started in December last year and now that I have some understanding in 3D printing I decided to have a try. So first I downloaded this free module. The result is just fantastic. It was easy to print, easy to assemble. Explanation are easy to understand. I think it is also a great project for beginners. Thank you so much for the possibility to access a free file, it makes the difference, now I’m sure I will buy another one or more ☺️