Our marble machines are
battery powered using standard AA batteries.
Out Of Marbles Store
Out Of Marbles carries a range of high quality 3D printable marble machines.
Browse from the following categories:
Out Of Marbles Store
Out Of Marbles carries a range of high quality 3D printable marble machines.
Browse from the following categories:
Our marble machines are
battery powered using standard AA batteries.
All of our marble machines run on 3 volts. However, if you want to slow it down, you can replace one AA battery with a "Dummy Battery", or you can use a wire to bridge the connection in the battery holder.
Our products are safe for children over 6 to use however, adult supervision is required as the marbles are very small and can be mistakenly ingested.
The running time for our marble machines is usually 144+ hours on one set(2) of AA batteries.
Not yet, but we are working on it!
Subscribe to our mailing list, to get notified when that happensWe're always releasing new designs on a frequent basis, but the best way to be informed of our product updates is to subscribe to our email newsletter or follow us on social media:
Depending on the order size, we're more than happy to discuss incentives for larger orders. Please get in touch via the Contact Us page to discuss your order.
Please take a look at our Refund policy.
Not at the moment. We had it, but it was just not worth paying monthly subscription for it.
Contact us if you want to promote our marble machines and we will find a way :)
Marble Machines are printed in PLA. That is a type of plastic that will get bendy at 50 °C (122 °F). Therefore they should not be placed on top of a radiator or anywhere close to a heating source. A car is a big no-no as well.
It is also advisable to not put them in direct sunlight or the colors might fade over time.
We used to be based in the Netherlands, specifically in The Hague.Since April 2021 we are now based in Slovenia.
Yes, we sell to most countries outside of the Netherlands. Take a look at our shipping policy.
All our prices are in EUROS. However, customers can easily convert pricing on our website using our currency conversion calculator. Whilst customers can see our pricing in their local currency, prices will be converted back to EURO at checkout.
Customers outside of the European Union may be subject to import taxes and customs duties (VAT) levied by your local customs office, once the order reaches the destination country.
These additional fees for customs clearance must be fulfilled by the recipient; Out Of Marbles has no control over these charges, nor can we predict what they may be.
Customs policies vary widely from country to country; you should contact your local customs office for more information. When customs clearance procedures are required, it may cause delays beyond our control.
Please take a look at our shipping policy.
How to use .3mf files?
All slicers should open .3mf files by simply dragging the file into the slicer
Why are we using .3mf files?
STL format is more than 30 years old. 3D printing technology has advanced and offers features and capabilities that STL was never developed to translate. For example, STL files describe only the surface geometry of a three-dimensional object without any representation of color, texture, or other common CAD model attributes. It does not save mesh topology, which can lead to file sizes larger than can be supported by the 3D printer, and it can introduce roundness errors, which will usually result in a 3D print failure.
We also already prepare and orient different parts on the build plate, so that you can easily slice them with minimal work needed. However, you can still move individual parts around if needed. If files were in STL format, that would not be possible.
How to print only one part on the buildplate?
Let's say that we are printing the two-wheeler and a piece of the axle broke. The advantage of using .3mf files is that even though I place a lot of pieces on the bed for easier printing, you can still just select the piece that you want and just print that. In prusaslicer you do that by either deleting the extra pieces or clicking on the "eye" icons
In Cura, you do that by selecting the pieces on the build plate and pressing delete key on the keyboard or by going to the objects list in the lower left of the screen and clicking with the right mouse button and selecting delete
For other less popular slicers, you will need to google it and find out on your own. But usually deleting the extra pieces will work.
Please click here and download the Test Fit model: Test Fit.3mf
Print "Test Fit.3mf" with normal settings at 0.2 or 0.3mm layer height. These parts have small tolerances between them and there are 2 sized rings. First place the widerring all the way onto the axle. It should not move or rotate on its own, It should stay in place with a tight friction fit.
Then take the narrower ring and also place it on the axle. The narrower ring should be able to move/rotate freely, but still be snugly on the axle. This narrow test ring represents the wheel later on, so it should turn freely. To make them fit, you can also lightly sand if there are any imperfections from 3d printing on the axle.
You may need to calibrate your 3D printer’s extrusion multiplier to get the correct fit. If you are having trouble getting a correct fit, consider using “horizontal size compensation”. This setting controls how many millimeters the features printed will be enlarged or shrunk by. If the fit is too tight, try -0.1mm compensation, if it's still too tight, try -0.2mm, etc.
If it is relatively close, then you can also probably get away with leaving your printer settings as they are, but then you will have to sand more.
We exclusively use Fillamentum brand. They are made here in Europe in Czech.
We use their PLA Extrafill line. Most notably "Vertigo Grey" for the base pieces and "Gold Happens" for modules.
They are widely available in Europe, but they have recently launched USA warehouse, so you should be able to get them over there also :)
Use supplied gcode files at your own risk. We are not responsible for any damage that might happen as a result of using the supplied gcode files.
We currently supply two sets of GCODE files. One set is meant for PRUSA MINI & MINI+ and the other is meant for PRUSA MK3S & MK3S+
ONLY USE THESE GCODE FILES IF YOU HAVE ORIGINAL PRINTERS LISTED ABOVE.
IF YOU HAVE ANY OTHER PRINTER, SLICE THE FILES YOURSELF OR YOU MIGHT DAMAGE YOUR PRINTER!
(We use PLA Extrafill from Filamentum)
The settings for this gcode files are:
First layer extruder temperature: 215
Other layers extruder temperature: 210
Bed temperature: 60
Variable layer heights are turned on where needed
(if you dont like these settings, then please slice the parts yourself. With these settings and our filament brand, we get near 100% success rate on our print farm and the best combination of time versus beauty of the prints)
If prusa mini gcode is missing for any model, it means its too big for 180mm bed size.
I have designed a free circular marble tray that you can store the marbles in when you are not using them in marble machines.
Download the STL from Printables
Step 1: download and install prusaslicer
Step 2: when you first open it, it will ask you for configuration.
#1. select your printer. In our case, we will add creality Ender 3 V2
#2. then click next to get to filament window. First select your printer, then select PLA filament. And then check if your filament is in the presets. Otherwise select Generic PLA.
#3. under file association, select associate .3mf files
#4. on the view mode, you can select simple mode.
Step 3:
Now click finish and open up the model that you want to print. In our case its two wheeler mid base.
#1. change the printer to ender 3 V2
#2 change the filament to your type
#3 change the print settings to one of the presets
If the window pops up about unsaved changes, select "discard"
Step 4
#1. Click arrange in the top of the window, so it positions the model in the center.
#2. click slice
#3. export it and print :)
Chain should be at just the right tension for the machine to run smoothly. Too loose and the chain will drag on other pieces and marbles might fall out of the buckets. Too tight and the motor will have to work needlessly harder than it would otherwise and might break down much faster.
Solution is to either scale up or down the chain links.
You should scale a few chain links up by 102% or down 98% in X direction (length wise). Then print them and replace a few and you will see immediate improvements. And just repeat this step until it runs smoothly.
Also I suggest buying Silicone Spray. It is similar to WD-40, but that is not silicone spray, so you shouldnt use that. You should buy silicone spray instead, and spray it on the gears and chain. It acts as lubricant for plastic.
This happens because of the bridging. A lose strand of plastic usually hangs from the ceiling inside the tunnel.
If marbles get stuck in the tunnel, then use a needle file or tweezers to solve the issue.
You will need to make a mark with a pencil on which hole the marble got stuck in.
And then sand it to make it smooth, it works best with a needle file, but sandpaper will work too. Afterwards observe the wheel for a few laps and see if the issue is fixed and then use the eraser to remove pencil marks.
Are you sure you printed it with 100% infill? Very important because the weight matters.
Next check if it rubs and gets stuck against the tipper path.
Also, check if it's catching on the pillar, then make it smooth by sanding and also check if it's catching on those two little tabs on the pillar and carefully sand them down.
It means you need to do one of these 2 things
Enlarge the hole of the split if you have a needle file.
Sand the pivot peg on which the split rotates
Process is very similar if marbles get stuck at flip flop
Someone had the following problem:
the marbles on the right hand side keep falling behind the screw jacking up the whole thing
and the solutions is to print "TDS_Screw Cap" that you can find in optional folder.
It is a known problem and this part is due for a redesign. Marbles exit too fast.
To fix it, you can use a small amount of hotglue and put it down somewhere in the spiral that is causing you issues. That should slow the marbles down sufficiently.
16. March 2021
V1.7
- Split is now more balanced to work better
- All M3 nut holes are slightly larger for easier nut insertion
- Base Left: Made it easier to insert the M3 nut from the bottom
- Base Right: Made it easier to insert the M3 nut from the bottom
- Base Mid: Made it easier to insert the M3 bolt from the bottom
- Base Mid: Made it easier to tighten on/off switch
- Base Mid & Base Left: Pillars where the wheel sits on, are now less round for easier printing (45 degree overhang)
- Path from Flip Flop to Split: It should be easier to insert m3 nut
- Path from Tipper: Made slightly more support for the path. I will need to revisit it in the future and change it completely.
V1.61
- Fixed the Split so that it is more balanced now
V1.6
- Added Prusa MK3s Gcode files
V1.5
- End-stop was added to holes where axles are inserted
- Sligthly bigger hole where axles are inserted
- Split has slightly bigger hole
- Split Walls now has a guard for easier alignment of the path
- Path towards split now has better design for nut insertion
- Flip Flop Walls now has a guard for easier alignment of the path
V1.4
- Greatly simplified the required hardware. Following fasteners were removed:
- M3x10 and M3x12 bolts
- Square M3 nuts
- 608 ball bearings
- Pegs where the modules sit on, are now a bit smaller for easier module placement
- Flip Flop has more tolerance at the peg
- Wheel big had holes adjusted, so that marbles will go in and out easier
V1.34
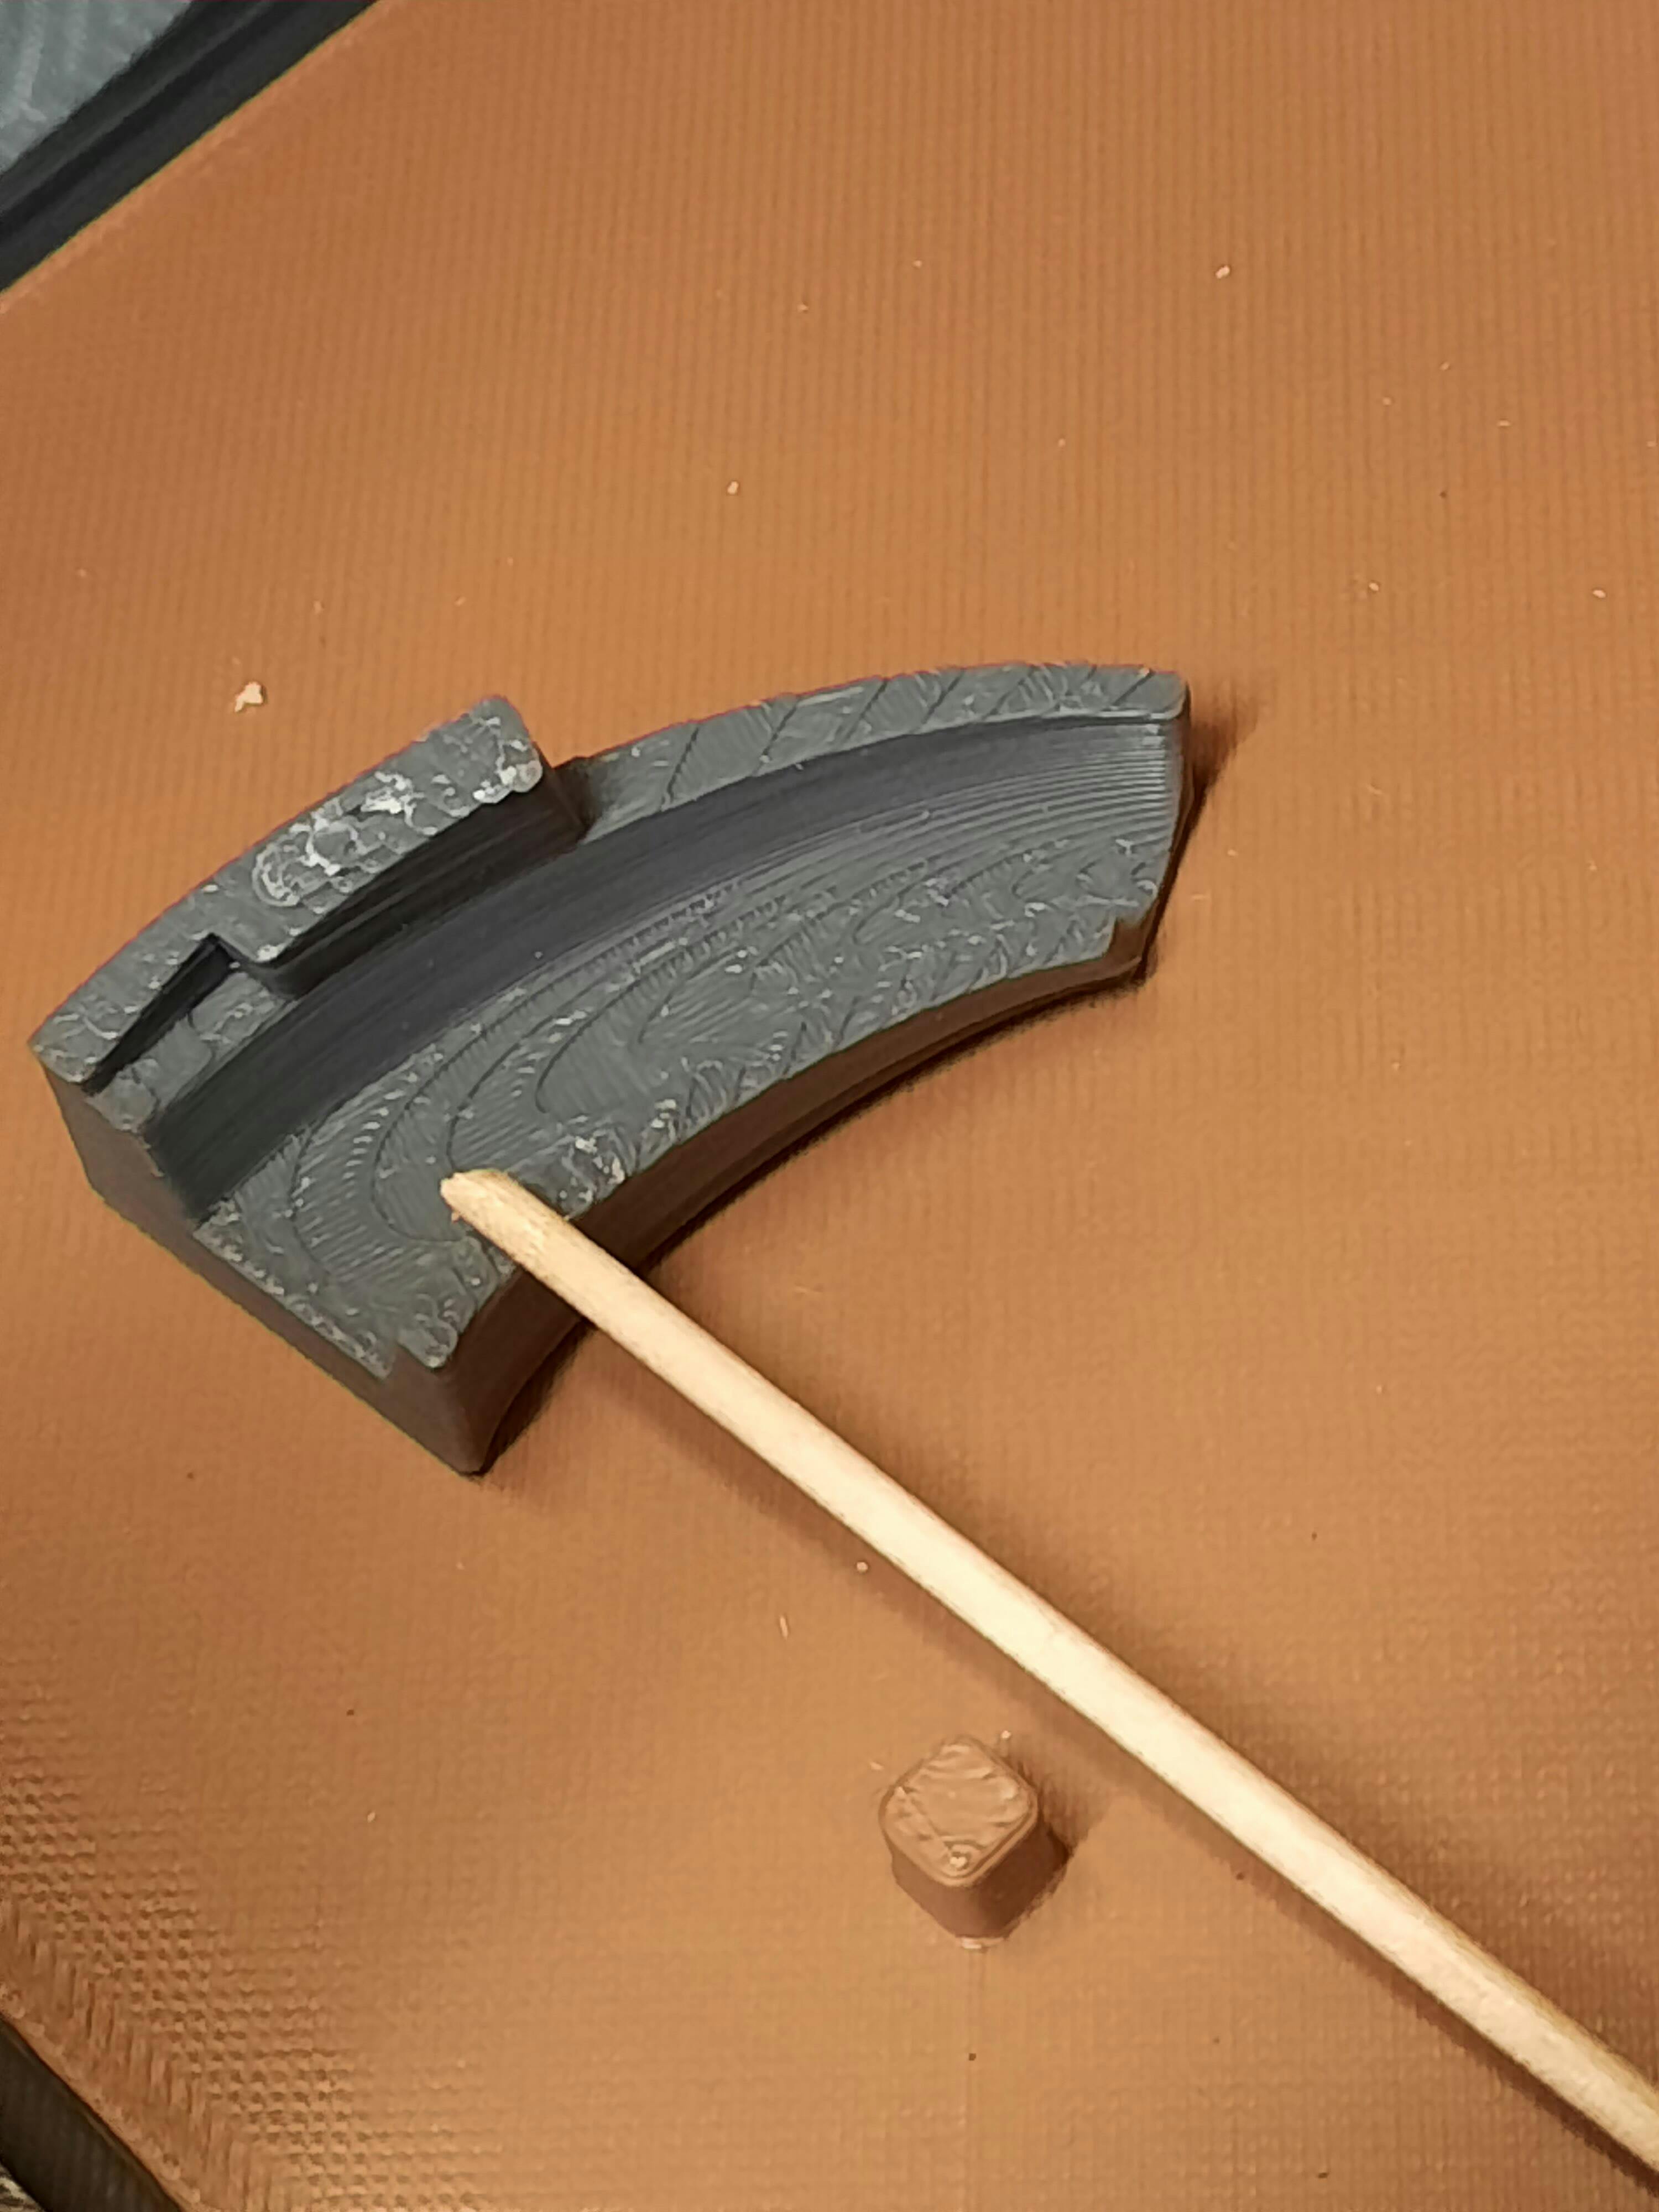
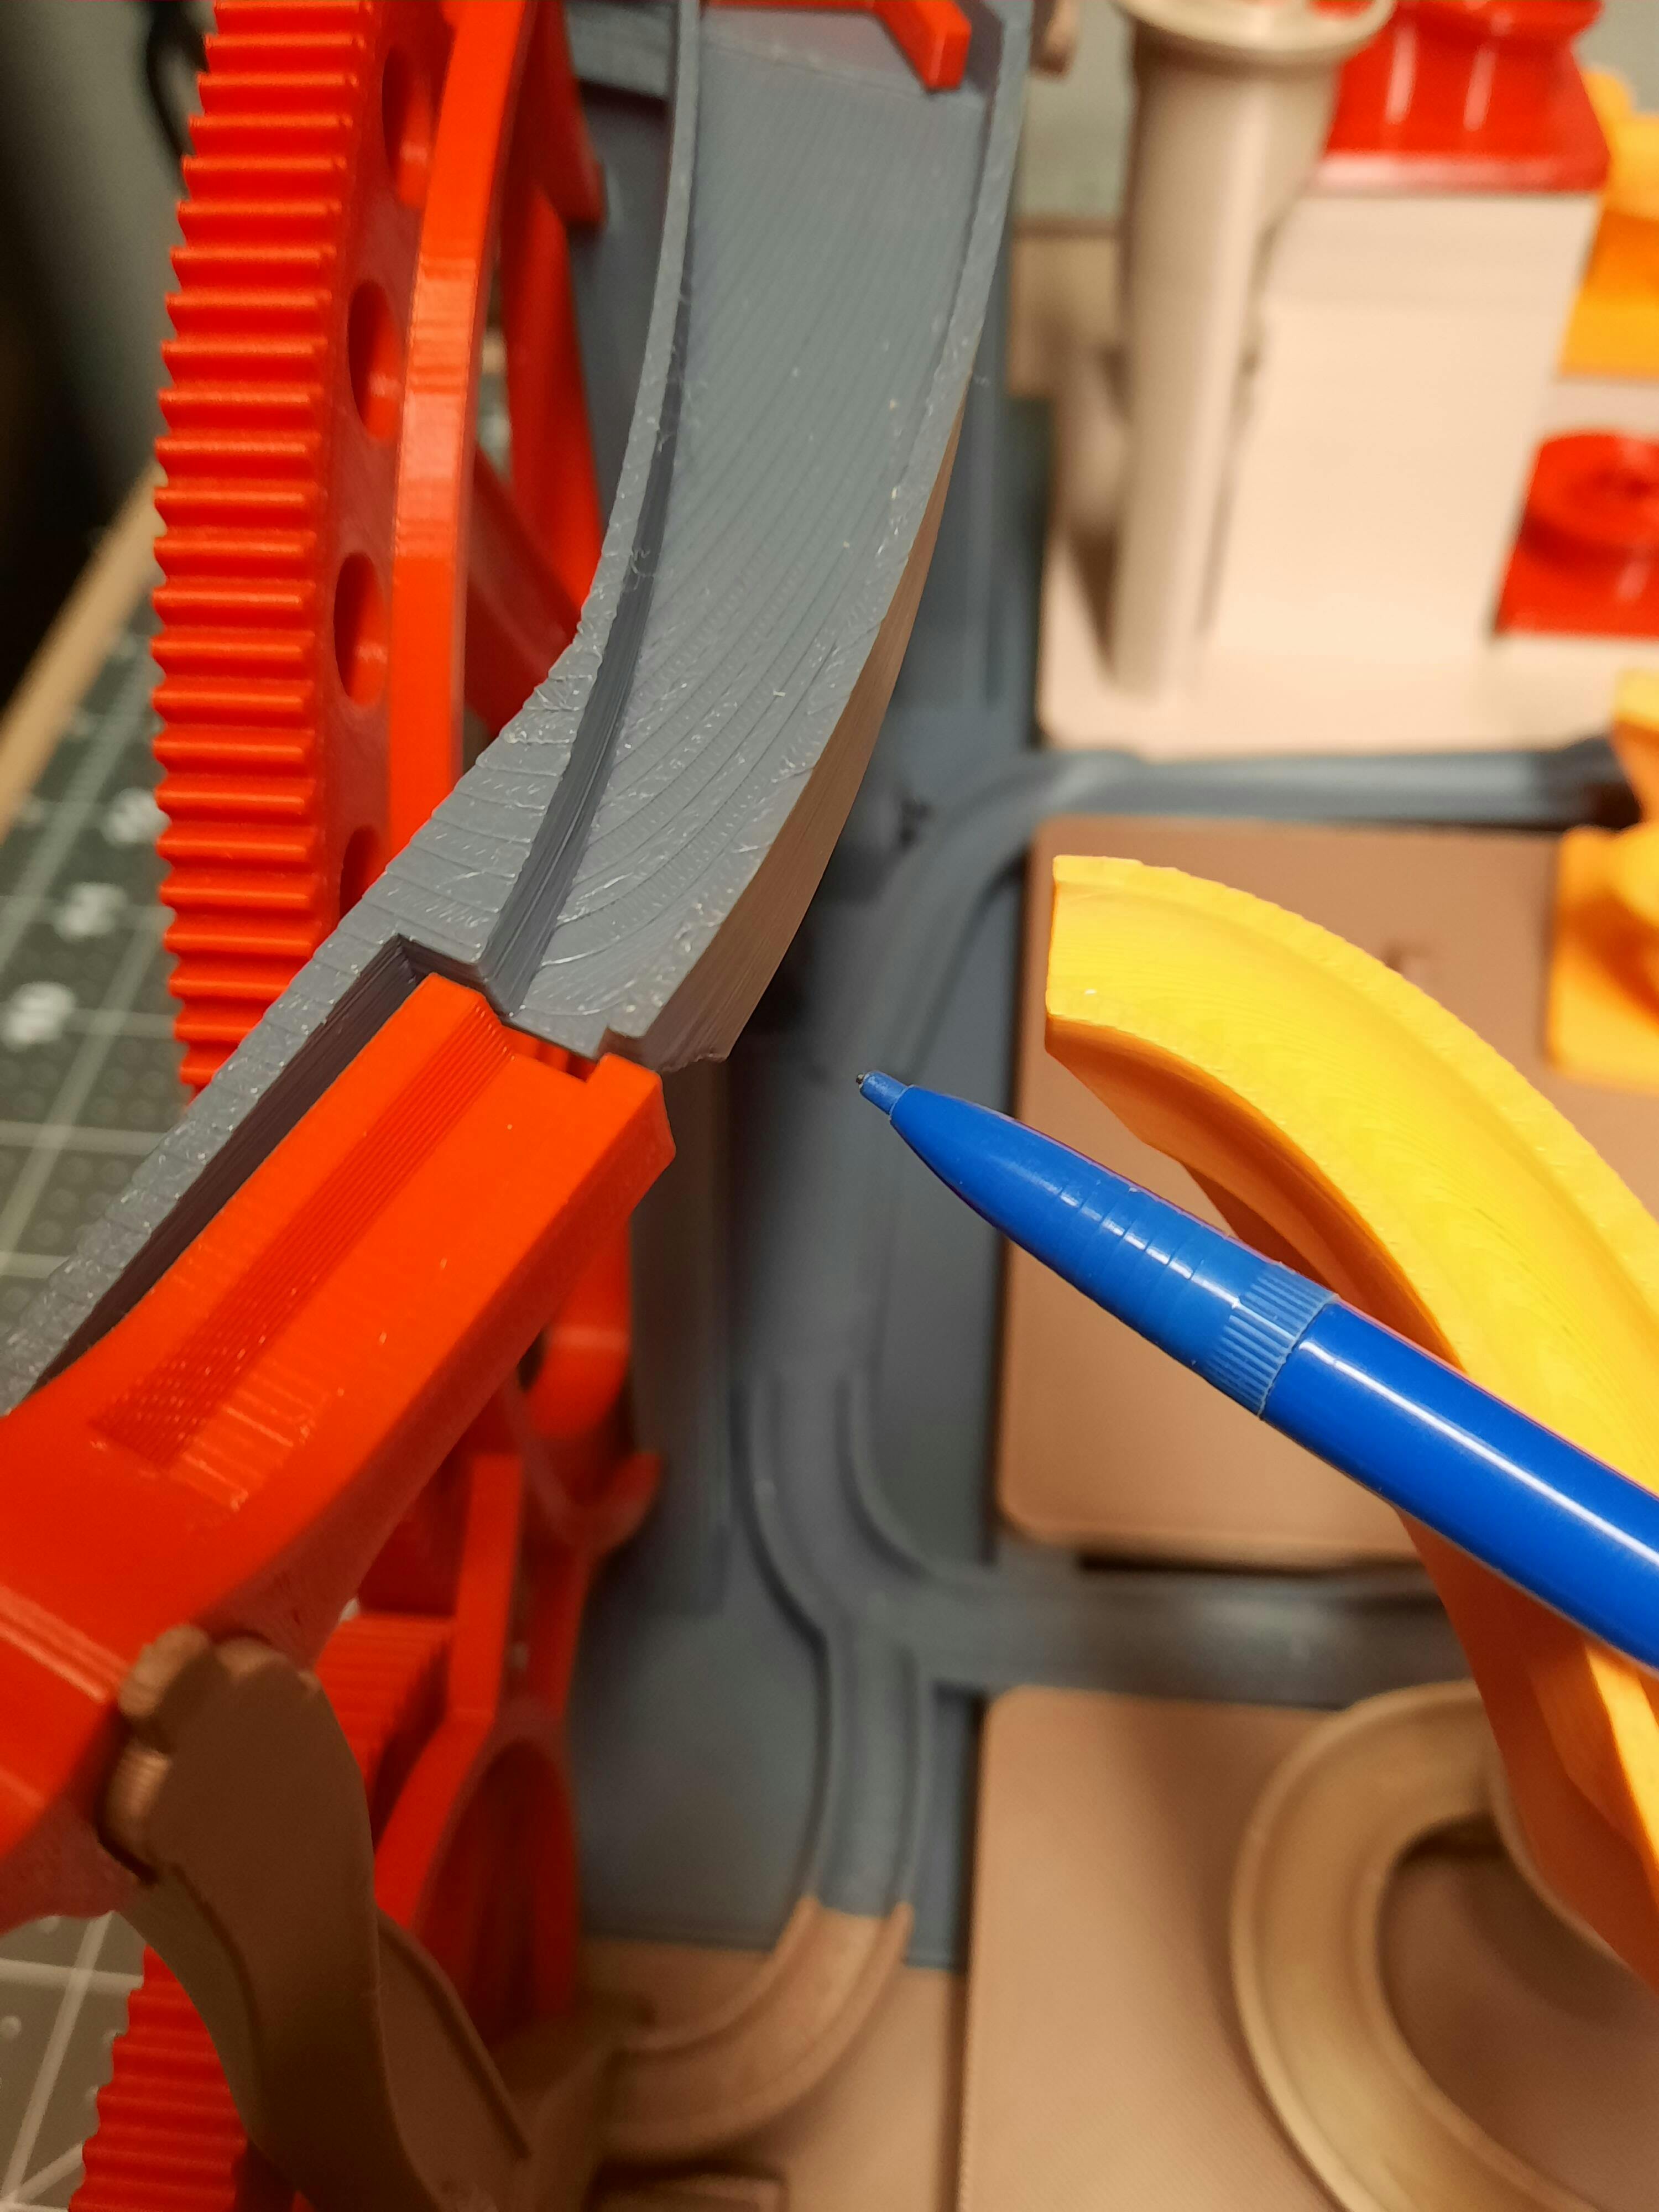
- Path From Spiral: guardrails are now higher because marbles sometimes fell out
- Ground Left: Small modification to accept the new spiral path
V1.33
- Path From Tipper: extended by another 0.5mm
- Path From Spiral: made it more curvy and also made wider base underneath, so it now prints without brim
- Ground Left: Small modification to accept new spiral path
V1.32
- Ground Left: Path leading towards small feeder has slightly bigger curvature now
- Wheel Big: Higher hole angle so marbles go out faster now
- Ground Mid: Path from tipper is extended by 1mm
- Ground Mid: Place for battery holder is slightly larger
- Ground Mid: On/off Switch hole is slightly larger and more indented now to accommodate shorter switches
- Ground Mid: Motor wire hole is slightly larger
V1.3
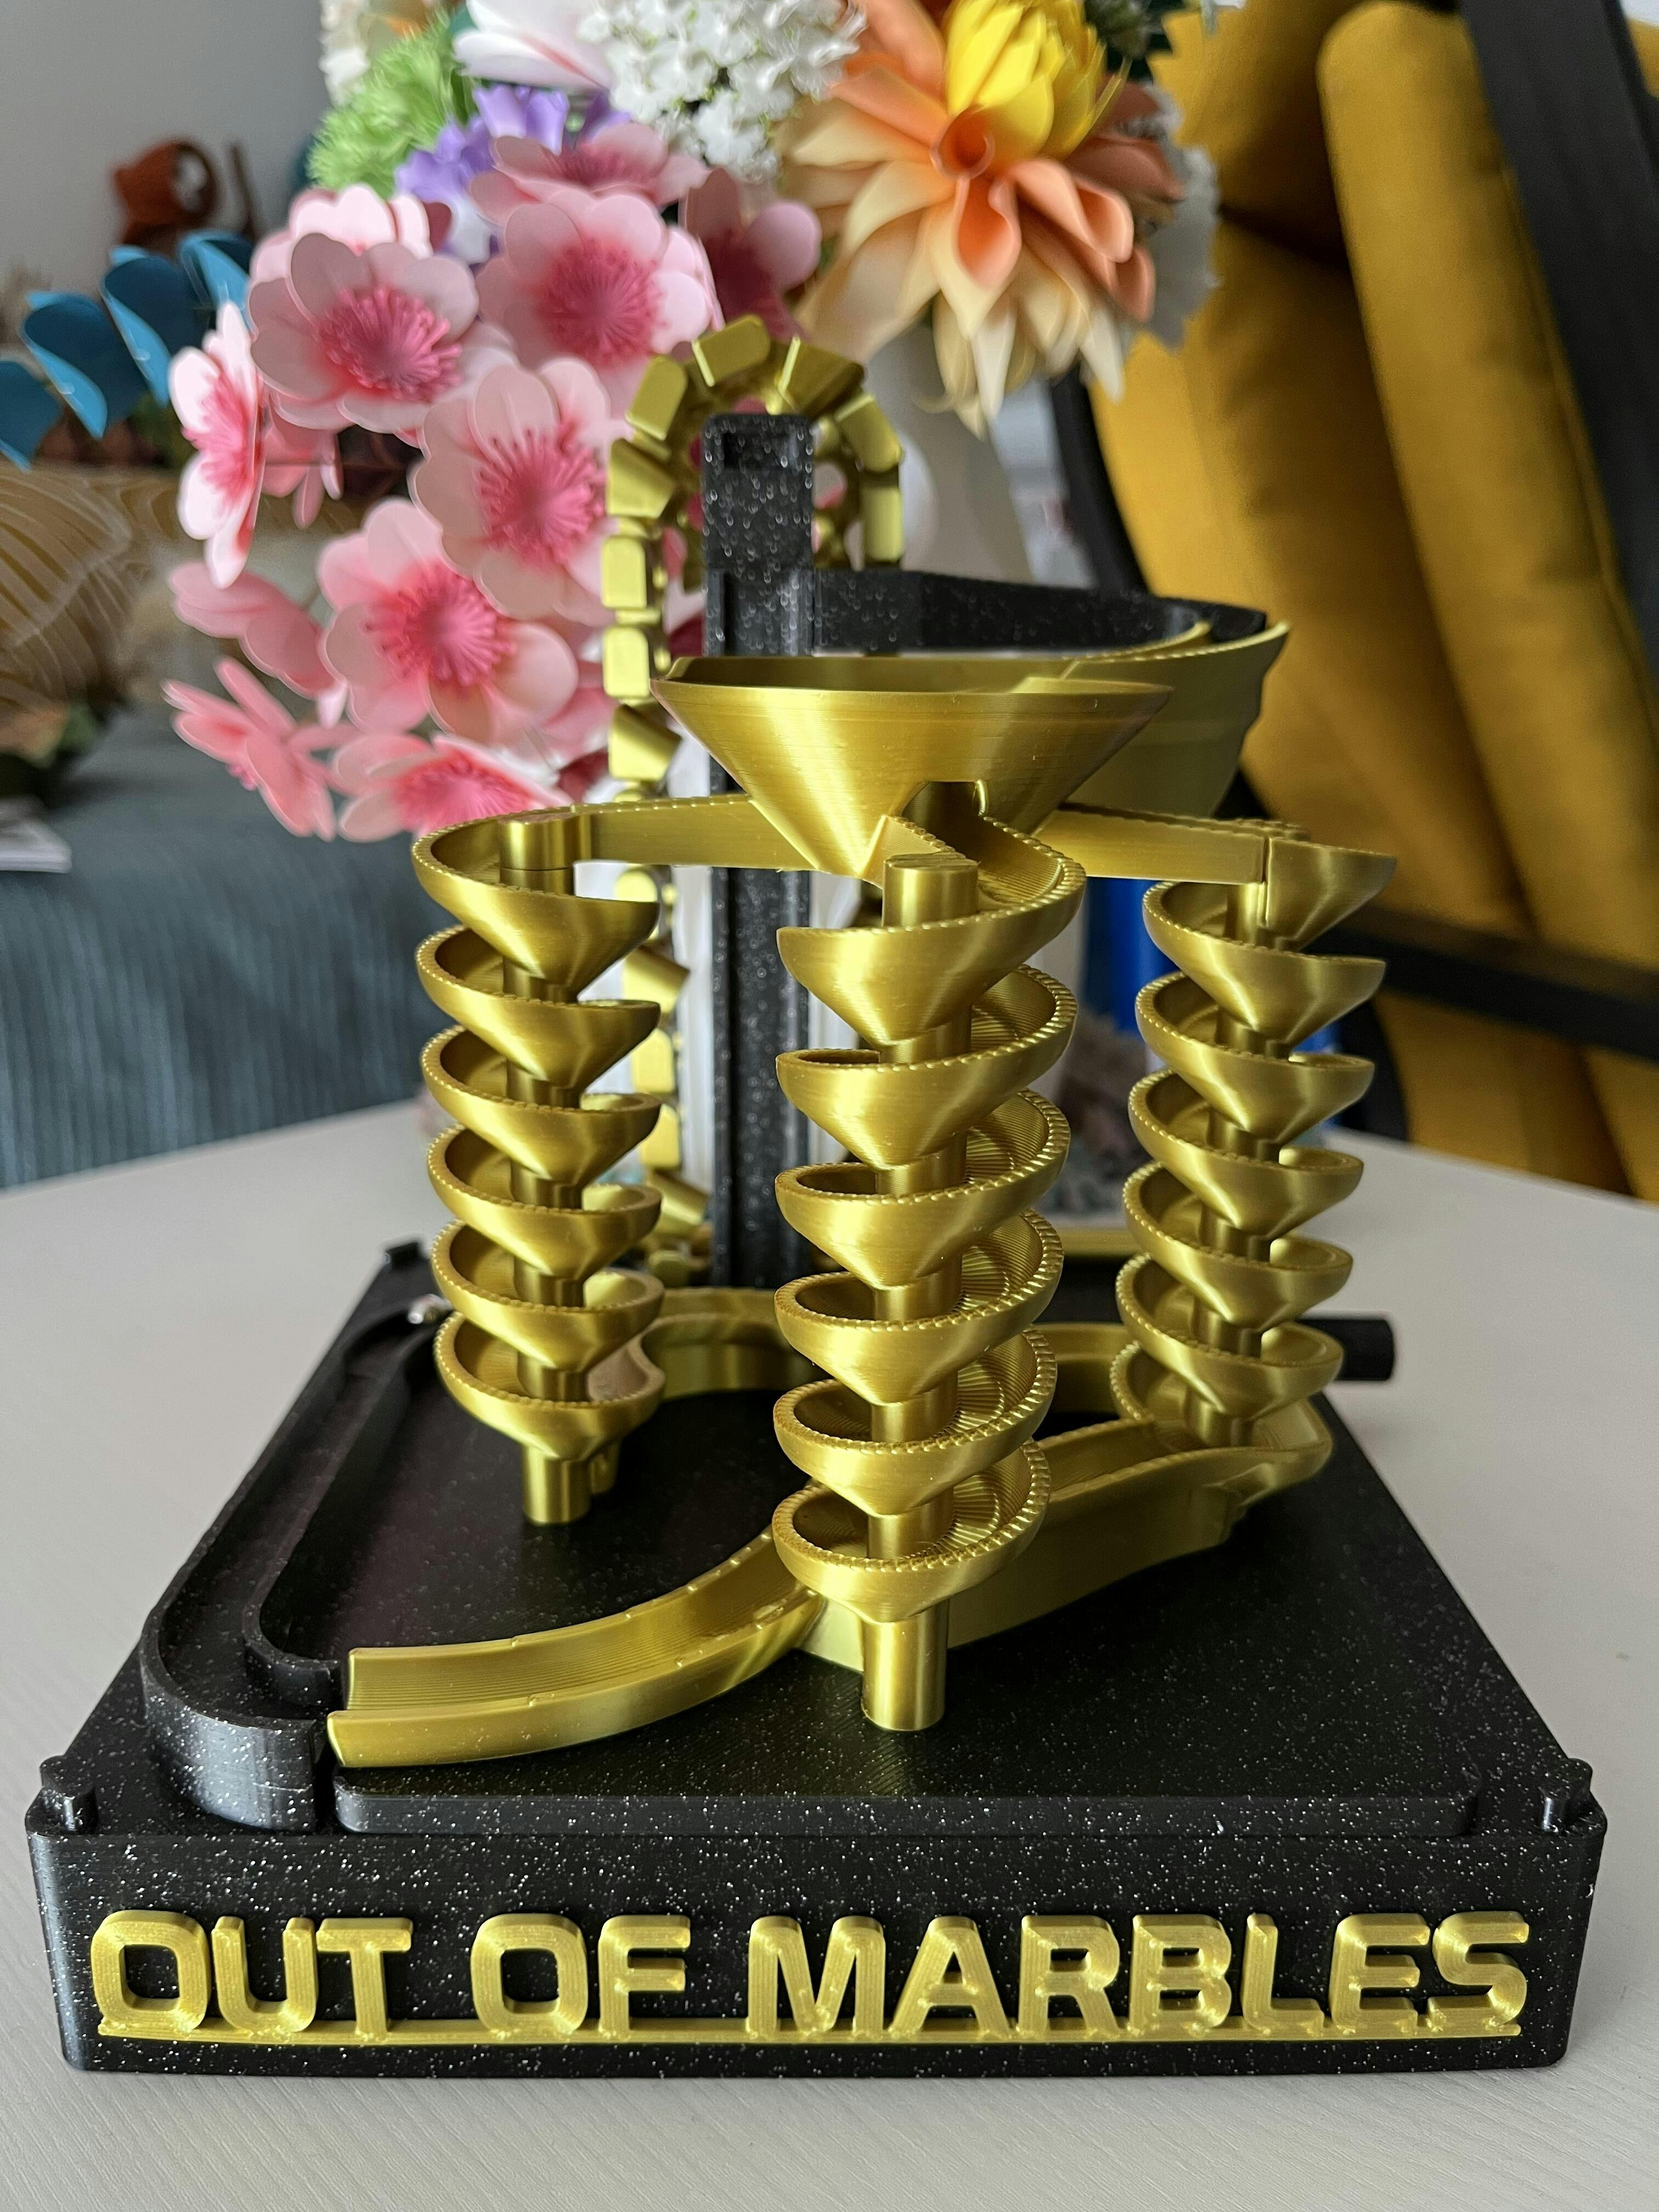
- Added new module "Brains"
- Added new module "Ring Of Fire"
- "Small Wheel" had its holes shortened a bit to match the holes of the Big wheel
- Redesigned the Flip Flop and Split. Now they have much smaller contact area so they turn more freely
- Added a new pachinko element that can be placed to the edge
- Path to the small feeder is now rounder with less sharp first corner
- All 3 Paths leading up to the modules had their diameter lowered from 10mm to 8mm so that module alignment has some wiggle room
- Paths on Ground Mid were made a bit higher, because occasionally marbles would fall out
- I have removed modifiers in prusaslicer because they were causing a conflict with other slicers
V1.24
- "Ground Left" had its path modified towards the small feeder, it now has more of a curve to it
- The following modules were redesigned to use fewer parts for easier assembly: Vortex, 3 Funnels and Spiralicious
- Vortex module now also has off center pegs, to make it impossible to assemble it incorrectly
- Ground pieces now have fillet applied to them, to help with parts buckling up on the build plate
V1.2
- New module "Pachinko". You can print different elements and place them however you want on the pegs. Come to Discord channel if you have suggestions for new elements or modules.
- Path from Tipper is now more secure and stays in place better
- Spiralicious module now prints one hour faster
- Ground mid now has more space where the nut for on/off switch goes
V1.1
- This is a major version with a lot of quality of life upgrades, therefore new pieces are mostly incompatible with previous versions.
- A lot of parts were merged together to improve assembly and printing experience. Parts count went from 28 to 22
- Pegs into which modules snap into are a bit smaller now so that modules snap on more nicely
- Holes into which "Out Of Marbles" logo is snapped in, are a bit bigger
- Filet was applied to ground pieces to improve bowing of ground pieces upwards when they are bolted together. Now there should be zero bowing issues.
- Tipper paths were completely redesigned and now there is zero post-processing required to get the paths aligned
- Path from Spiral was cut into two pieces so that some of it prints in place
- Guard Rails for wheels were connected together so that it is now one piece and a bit more sturdy
- Both wheels had hole angles adjusted slightly so that marbles roll out easier
- Enlarged Donkey King module entry point
V1.04
- Fixed slicing settings so ground left has variable layer height at the top
- Made wheel axle longer so it matches the through holes now
V1.03
- Fixed the Tipper.mk3 not having 100% infill
- Both holes for wheel axle are through holes now, for easier accessibility
- I also made a small 0.5 degrees draft on ground parts in an attempt to remove upward buckling
V1.02
- Modified the "Vortex" module. (Before there was a chance of fail print at around 14 hours of print time)
- I have made two versions of the Vortex module. Print either one you want, I recommend the second version. The first version is printed as a whole and the second version is split into two parts.
- You can find the first version Vortex in the “Obsolete" folder. Here are the changes: Rotated the "Vortex", so that it is aligned with the movement of the Z bed axis for more stability. I also enlarged the brim from 5 to 12mm.
- Second recommended version: It is now split into 2 parts and print time is 1 hour shorter. It should also have a 100% success chance of completing it.
V1.01
- Made the back hole between Ground Mid and Ground Right slightly larger so that bolt can be inserted more easily
V1.0
- Release
24. December 2021
v1.51 - Removed the need for fasteners
- Thinner walls for faster printing time
- Battery cover has more rounded edges now
16. March 2021
v1.4 - Square nut is no longer needed.
- Tried to mitigate the problem where marbles would sometimes go behind the lifting screws
- Right screw now has a small bump to easily distinguish between both screws
v1.31 - Modified Screw Cap slightly
v1.3 - Added Prusa MK3s Gcode files
v1.2 - Reinforced the pegs where the modules sit on
v1.1 - Ground Left is now exactly 200mm wide
- Both paths leading up to the screws are now better designed
- Pegs where the modules sit on, are now a bit smaller for easier module placement
- Added "Optional" folder, where you can find screw cut in half for easier printing
- Also optional "Screw Cap" is in there, more of a decorational piece
v1.01 - Slightly made top right path higher to more easily connect it with modules
- Bottom right path now has higher edges
- Both Screws have slightly more fillet applied to them
- Gap between wall and screws is now smaller, so that there is less chance that marbles fall behind the screws
v1.0 - Release
24. December 2021
V1.1
- Bigger tolerances, now it should print without much sanding
- Redesigned entry section onto the lift stairs (marbles shouldn't escape there anymore, and they get into a nice line now)
- Removed the place to put weights in the manual version
V1.0
- Release
13. January 2022
V1.1
- Now this marble machine features two addons, so you can swap them around
- Added Hand Cranked version
- Entry path into spiral was redesigned to not allow marbles to jump out any more
- Removed tooth gears on the motor version of the spiral
- Repositioned battery holder and on/off switch on the motor version of the spiral
20. October 2021
V1.0
- Release
10. March 2022
v1.41 - Fixed the pillar height
28. December 2021
v1.4 - Redesigned the entry path
- Now you can, later on, turn it into a tower
- Tension system is much improved
- Pillar prints separately
- Battery cover has more rounded edges now
v1.32 - Fixed battery compartment coverv1.3 - Removed the tension system holev1.2 - Added Prusa MK3s Gcode filesv1.1 - Added chain tensioning system, you can find it in the "optional" folder - Prusa MK3s gcode files are now includedv1.05 - Base for Prusa Mini is now 178x178 instead of 180x180v1.04 - Added Prusa Mini folder - Added guard rail to the base pathv1.03 - Release
16. March 2021
v1.5 - Thickened the funnels so that it prints better and without issues
- Redesigned the exit tunnel to slow down marbles more
- The bottom and middle funnel now sit on additional peg for more sturdiness
- Added Prusa MINI Gcode files
v1.4 - Added Prusa MK3s Gcode files
v1.3 - Removed the need for fasteners, now it is a friction/glue fit.
v1.2 - Fixed an issue when you are not slicing with "prusaslicer"
v1.1 - Top funnel now has correct elephant foot compensation
v1.0 - Release
9 March 2022
v1.1 - Added all numbers from 0 to 9, so that you can specify any year as a poop year :)
24 December 2021
v1.0 - Release
16. March 2021
v1.2 - Redesigned the entry "chute". You can now place foam pad at the bottom to greatly reduce noise.
- Created a "draft" and took out the back portion of the brains module that is never seen. This optimized the printing time and filament required to print it.
- Added Prusa MINI Gcode files
v1.1 - Added Prusa MK3S Gcode files
v1.0 - Release
13 February 2021
v1.6 - Added a lip to the left tower to more easily secure the top most bridge section
- Added Prusa MINI Gcode files
v1.5 - Added Prusa MK3s Gcode files
v1.4 - Added no hole version again for people that have problems with right tower falling down during printing. You will find it in "Optional" folder
v1.3 - Raised the guardrail on the second turn by 1 milimeter, because marbles would sometimes fly off when the module is used on "the double screw"
v1.2 - Someone still reported right tower falling over during printing, so now it is super beefed up :)
- Removed the no hole version now
v1.1 - A few people had problems with right tower being knocked over, so now the base of it is reinforced. They got knocked over because of the holes in the top support path. Now you have a choice of two versions. Hexagon holes, which are easier to print than round holes, or no holes at all.
v1.0 - Release
16. March 2021
v1.3 - Reduced the thickness by 1mm.
- Reduced the gap from 10mm to 8.2mm at the point where marble transitions onto new donkey slope.
- Added Prusa MINI Gcode files
v1.2 - Added bigger fillet at the entrance of the module. Marbles got stuck sometimes when used with a Bucket Tower marble machine.
v1.1 - Added Prusa MK3s Gcode files
v1.0 - Release
16. March 2021
v1.2 - Added Prusa MINI Gcode files
v1.1 - Added Prusa MK3s Gcode files
v1.01 - Added the brim around the support for Loop Top
v1.0 - Release
9. March 2022
v1.4 - Added two more spinning elements - Elements now have slightly more tolerances
- Redesigned the holes where pachinko goes into the lower path
16. March 2021
v1.3 - Added one more circular element
- Added Prusa MINI Gcode files
v1.2 - Added Prusa MK3s Gcode files
v1.1 - Left side where the exit is, now has a small hole instead of a big gap. Marbles would occasionaly fall out before.
- Renamed "Pachinko colored parts" to "Pachinko"
v1.0 - Release
8. March 2022
v1.32 - Redesigned the holes between the funnel and the base
4. May 2021
v1.31 - Fixed tolerances, so that it prints correctly now
16. March 2021
v1.3 - Top hole enlarged so that marbles go through easier onto the jump ramp
- Landing funnel redesigned to catch occasional odd marble that jumped short
- Added Prusa MINI Gcode files
v1.2 - Added Prusa MK3s Gcode files
v1.1 - Made the hole where marbles enter onto the ramp slightly bigger
v1.0 - Release
4th May 2021
v1.4 - Added Prusa MINI Gcode files
- Removed speed bumps. Now the marbles are slowed down in the "S" curve at the end
- The way the module attaches to its base was changed
v1.3 - Added Prusa MK3s Gcode files
v1.2 - Removed the need for fasteners. Now its assembled with friction/glue fit
v1.1 - Exit path on spiralicious is now higher, occasionally marbles would fly out before
v1.0 - Release
4th May 2021
v1.3 - Width of the spiral walls were reduced from 3mm to 2mm. This improved print time & amount of filament used & the height has more tolerance now
- Exit paths were redesigned, so marbles exit the module at lower speeds
- Roof in the tunnels at the top funnel, was made from round to square for easier printing
v1.2 - Top 3 holes are a bit wider now
v1.1 - Added Prusa MK3s Gcode files
v1.0 - Release
16. March 2021
V1.21 - Added Prusa MINI Gcode files
v1.2 - Added Prusa MK3s Gcode files
v1.1 - Removed the need for fasteners. Now its assembled with friction/glue fit
v1.0 - Release
The simplest way is to purchase our Hardware Kit. It is a Complete Kit for our Marble Machines. It will come in handy if you do not want to source the parts yourself.
While we ship the critical parts, you will 3D print the rest of the product. The kits fit on all of our designs and you need one kit per marble machine.
All our components are plug and play - no electronics knowledge or soldering needed!
If you want to source hardware by yourself then here is a list for ONE marble machine. It is highly recommended to have a soldering kit and the knowledge to solder wires.
Links are for Aliexpress, however you should search and buy locally to get it faster.
Yes you certainly can. However there are a few things to note.
For example, if you buy 6V 30 rpm motor. The lifting mechanisms will go slightly faster, because yours would be 30rpm and I use and test for 20 rpm motors. It would still work without problems, however you will need bigger battery holder for 4x1.5V batteries to reach the rated 6V.
Another option is that you check the specifications for your motor and see what Voltage is the minimum. If its 6V, then you need to use 4x1.5V batteries. If however it is 3V minimum, then you can use 2x1.5V batteries and the motor will turn at half the speed, in this case it would go from 30rpm to 15rpm.
I wouldn't suggest using more than 50rpm motors. Currently anything past 30rpm was not tested by us..
Join Out Of Marbles club to get updates on new releases and get 10% OFF your first order!